Why Accessory Installs Go Wrong More Often Than They Should
Accessory installation errors aren't usually the result of carelessness - they're the result of incomplete information at the moment of action. A product that looked right in a listing, a wiring connection that seemed solid enough, a mounting position that appeared clearance-free: each of these judgment calls can unravel quickly once the vehicle is back in regular use.
The mistakes below represent the patterns that repeat across vehicle forums, shop feedback, and real-world rework jobs. Understanding why they happen is as important as knowing how to prevent them, because the underlying causes - optimism bias, impatience, and trust in vague fitment claims - don't disappear just because you've read a warning. What helps is building better habits into your process before you open the box.
If you're new to aftermarket modifications, starting with the right foundational accessories makes the learning curve considerably less costly.
Installing an accessory without confirming vehicle-specific compatibility first.
Why it happens: Enthusiasts often rely on product listings that claim broad compatibility or 'universal fit,' assuming close enough is good enough.
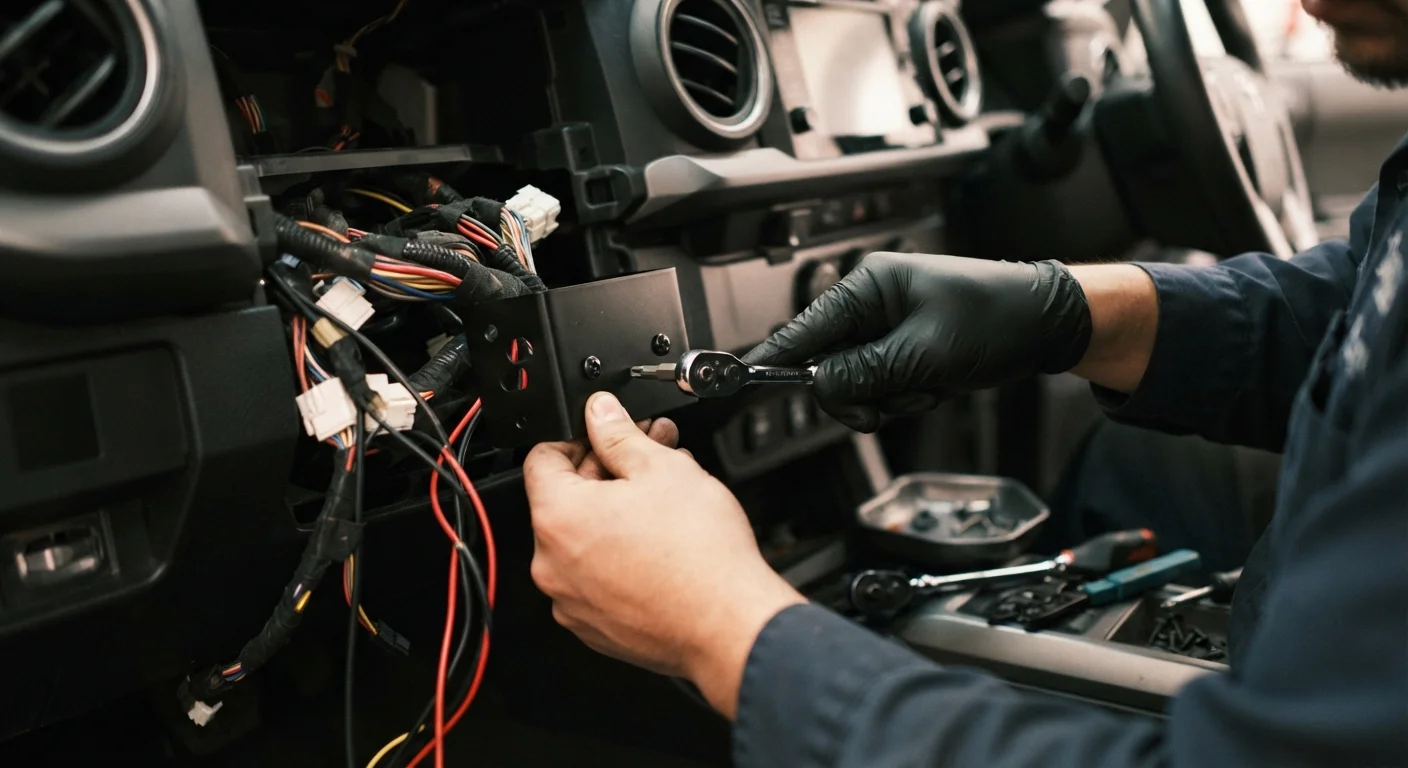
Using tap-splice connectors or unprotected wire joins in the vehicle's electrical system.
Why it happens: T-tap and scotch-lock connectors are inexpensive and fast, which makes them tempting for dash cams, lights, and other powered accessories.
Drilling mounting holes without first identifying what lies behind the panel or body surface.
Why it happens: Installation instructions often show drill placement relative to the visible surface without accounting for vehicle-to-vehicle variation in hidden wiring looms, fuel lines, or structural members.
Skipping a dry-fit or test-fit before permanent attachment.
Why it happens: Impatience after unboxing leads installers to commit to final positioning before verifying clearances, cable reach, or door-swing interference.
Ignoring torque specifications and over-tightening fasteners into plastic or soft-metal trim.
Why it happens: The instinct to 'make it tight' overrides the instruction sheet, especially when installers lack a torque wrench.
Failing to account for warranty implications before beginning installation.
Why it happens: Most enthusiasts don't read warranty documents until something goes wrong, by which point modifications may have already affected coverage.
Building an Installation Process That Catches Problems Early
The single most protective habit in accessory installation is slowing down the pre-work phase. Roughly half of the mistakes outlined above occur before a single fastener is turned - they're baked in at the research and planning stage.
Electrical Shortcuts Can Cause Fires
Improperly tapped wiring - including undersized wire, loose crimp connections, or bypassed fuses - is a known cause of vehicle electrical fires. If you're uncertain about any wiring step, stop and consult a qualified auto electrician. Never assume a connection that 'seems to work' is safe long-term.
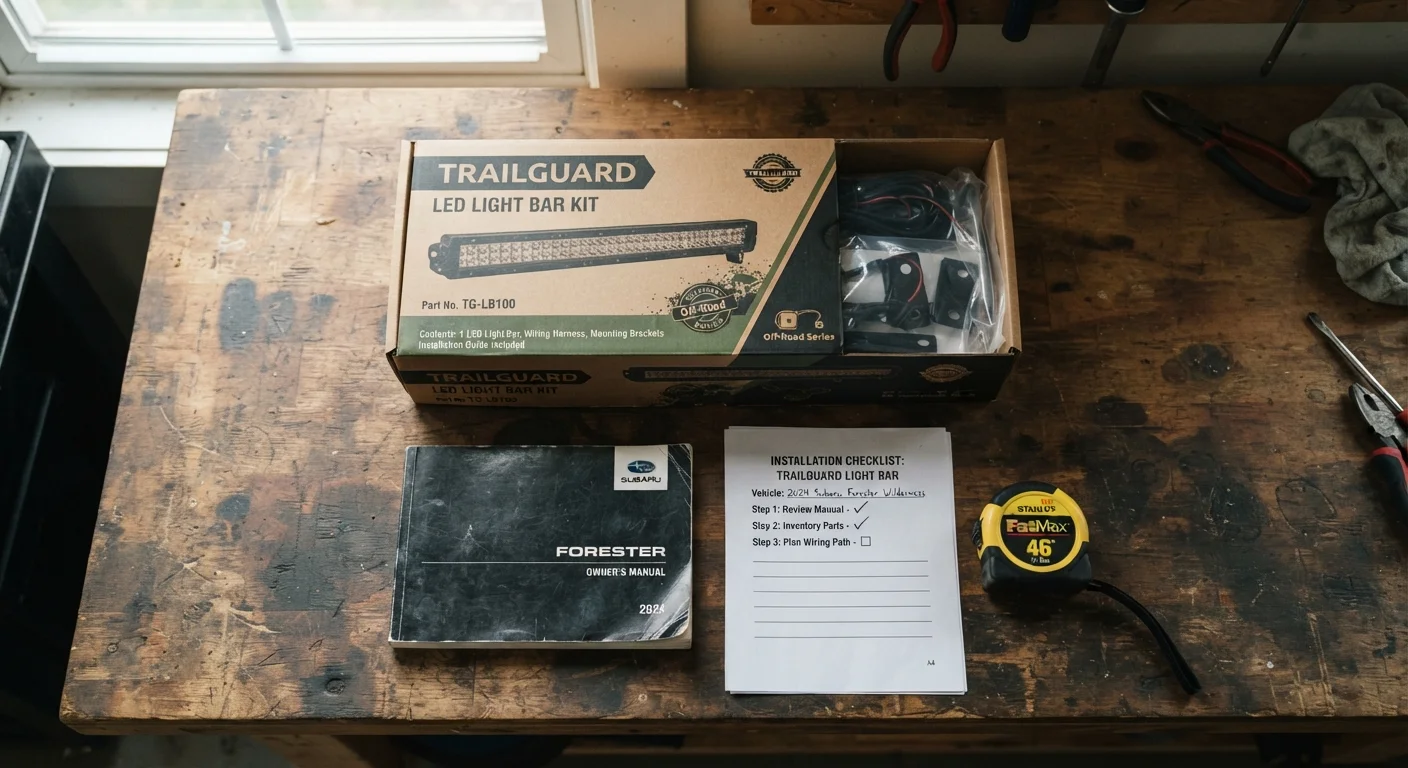
A practical pre-installation checklist for any accessory install should cover: confirmed fitment against your exact vehicle spec, a review of what's behind every surface you intend to drill or tap, a dry-fit run that tests all clearances, and a read-through of the instruction sheet (not a skim) before tools come out.
For anything involving the vehicle's electrical system, the bar is higher. DIY repair guides consistently flag electrical work as the category where amateur installs most often create downstream problems that are expensive to diagnose. If a wiring task involves the vehicle's CAN bus, airbag system, or any safety-critical circuit, professional installation isn't a sign of defeat - it's the right call.
For context on where accessory modification fits within your vehicle's broader maintenance picture, understanding key vehicle components helps you evaluate what's actually at stake when you tap into a system or drill through a structural zone. Enthusiast confidence is valuable; it just works best when it's calibrated to the actual complexity of the task.
This article is for general informational purposes only. Always follow manufacturer instructions and consult a qualified mechanic or auto electrician for installation tasks beyond your skill level.