Why a Pre-Order Checklist Matters
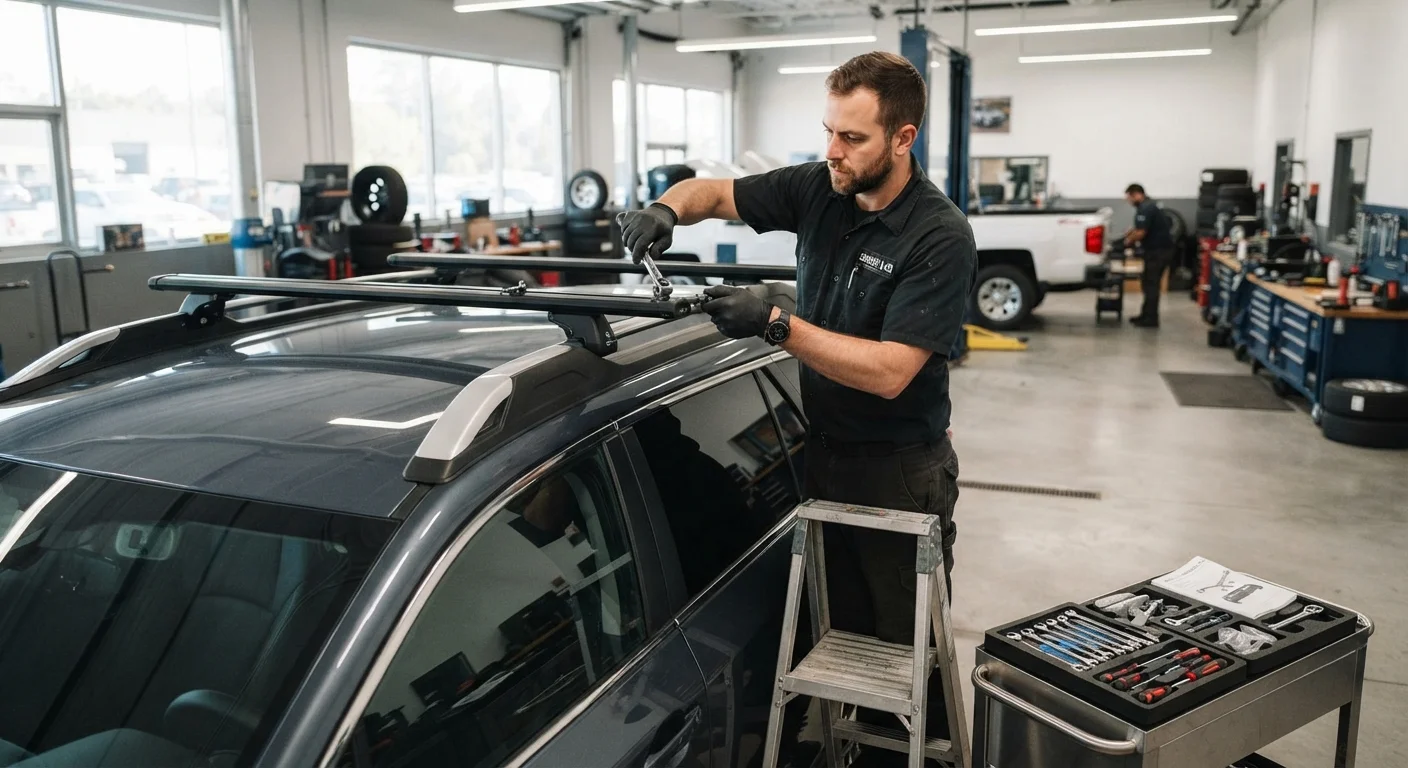
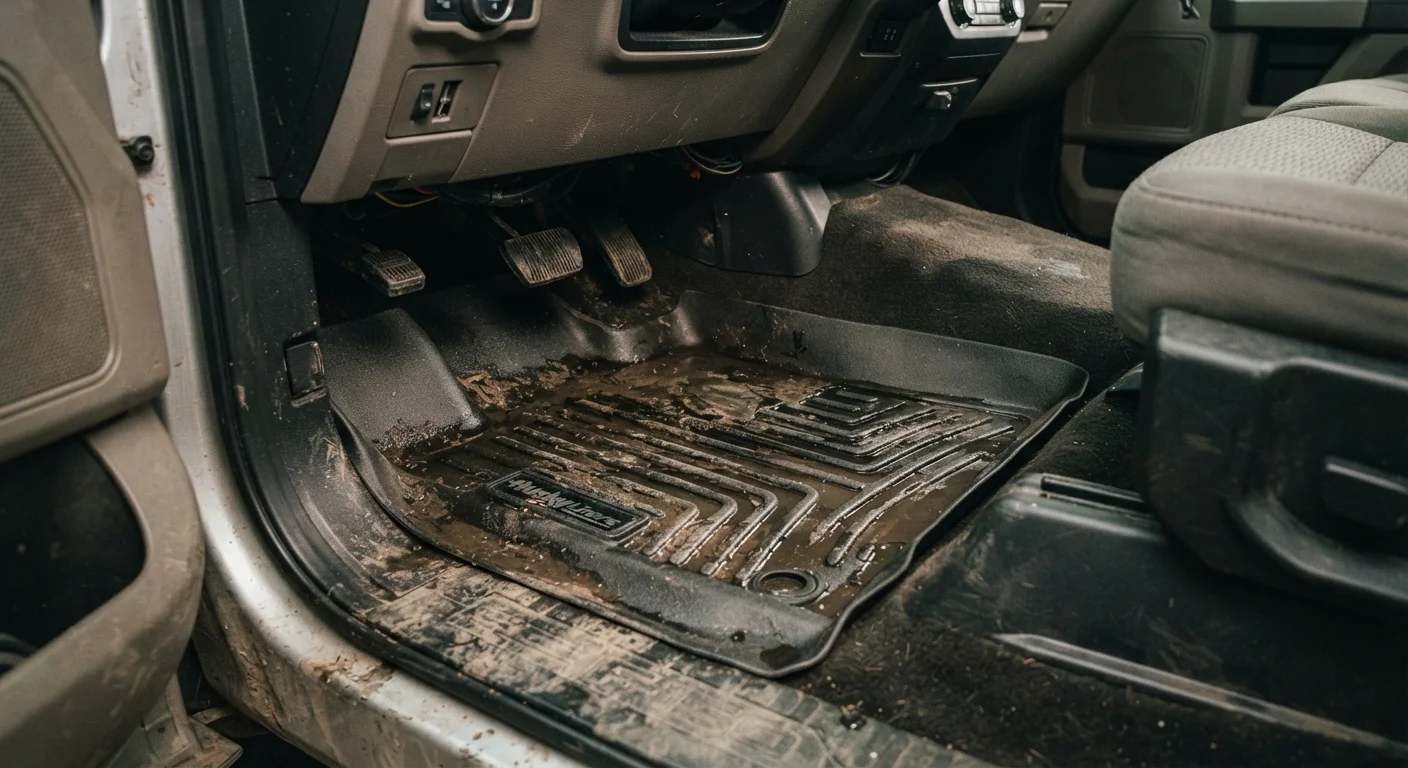
Accessory shopping is where enthusiasm and regret often collide. A roof rack that's two inches too short, a dashcam hardwire kit incompatible with your fuse box, or a bed liner that technically fits the body style but fouls the tie-down anchors - these are common, avoidable problems. The fix is simple: slow down before you click order.
This checklist is designed for any vehicle accessory purchase - from cargo management and lighting to towing equipment and tech mounts. Run through it once, and you'll walk into the transaction with real confidence rather than optimism. For a parallel look at how installation errors compound these problems, see what causes accessory installs to go wrong.
Vehicle Identification
Fitment and Compatibility Verification
Installation Requirements
Policy and Regulatory Checks
Tools and Resources You'll Need
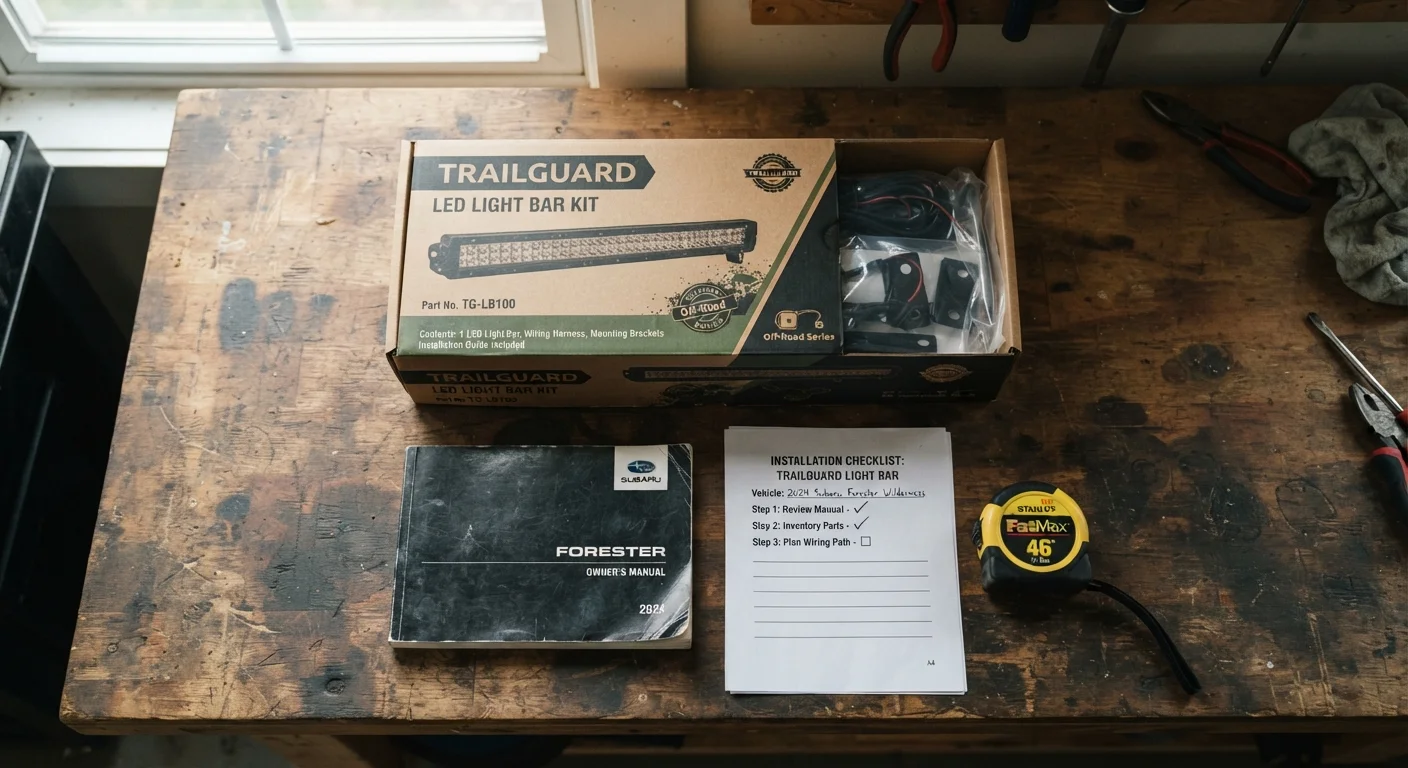
You don't need much to run this checklist, but having the right reference materials at hand makes the difference between a confident decision and a guess.
Vehicle Owner's Manual
Confirms factory-spec dimensions, electrical system capacity, and any manufacturer restrictions on accessory types.
VIN Decoder
Translates your VIN into the exact build specification of your vehicle, including trim options that affect fitment.
Tape Measure
Allows you to physically verify mounting area dimensions against the accessory's stated specs before ordering.
Multimeter
Used to check available voltage and confirm circuit capacity when evaluating electrical accessories.
State DMV Website
Authoritative source for regulations governing lighting, tint, lift height, and other modification categories in your state.
If you're adding accessories to a classic or specialty vehicle, note that fitment databases are far less comprehensive for older platforms. Cross-referencing against a physical copy of the factory service manual is often the most reliable method - something the classic car inspection checklist covers in more detail.
Fitment, Compatibility, and Regulatory Considerations
Fitment is more nuanced than most product pages suggest. Manufacturers often list compatibility at the model level, but trim-level differences - a factory tow package, upgraded suspension, a panoramic roof - can change what physically fits or what mounting hardware is included. Always cross-check against your specific trim code, not just the model name.
Fitment Databases Are Not Infallible
Online fitment tools are useful starting points, but they rely on manufacturer-supplied data that is sometimes incomplete or delayed for newer model years. Mid-cycle refreshes, production-run changes, and regional market variations can create gaps. Always cross-reference fitment data with owner forums, technical support, or a physical measurement where the stakes are high.
Regulatory checks are easy to skip but worth doing for any accessory that alters your vehicle's exterior dimensions, lighting output, or noise profile. Window tints, auxiliary lights, lift kits, and exhaust modifications are all subject to state-level regulations that vary considerably across the US. Ignorance of these rules doesn't exempt you from enforcement, and some non-compliant installs can affect insurance claims. Your state DMV website is the authoritative source.
Warranty implications deserve equal attention. The Magnuson-Moss Warranty Act provides some consumer protections, but the details depend on how the modification relates to any failure claimed. For a thorough breakdown of how aftermarket accessories can affect your coverage, read fitting accessories without voiding your warranty before proceeding.
Non-Compliant Accessories Can Affect Insurance Claims
Installing accessories that violate state regulations - oversized lights, illegal tint levels, unapproved lift heights - can complicate or invalidate insurance claims if those modifications are cited as contributing factors in an incident. Review your insurance policy's modification clause and your state's vehicle modification statutes before any install that changes your vehicle's physical profile or lighting output.
Finally, if you're outfitting an RV or camper, the pre-order verification process dovetails with your broader systems check. The RV pre-trip inspection checklist is a useful companion document once gear is fitted and you're ready to hit the road.