Why the Routing Diagram Makes or Breaks This Job
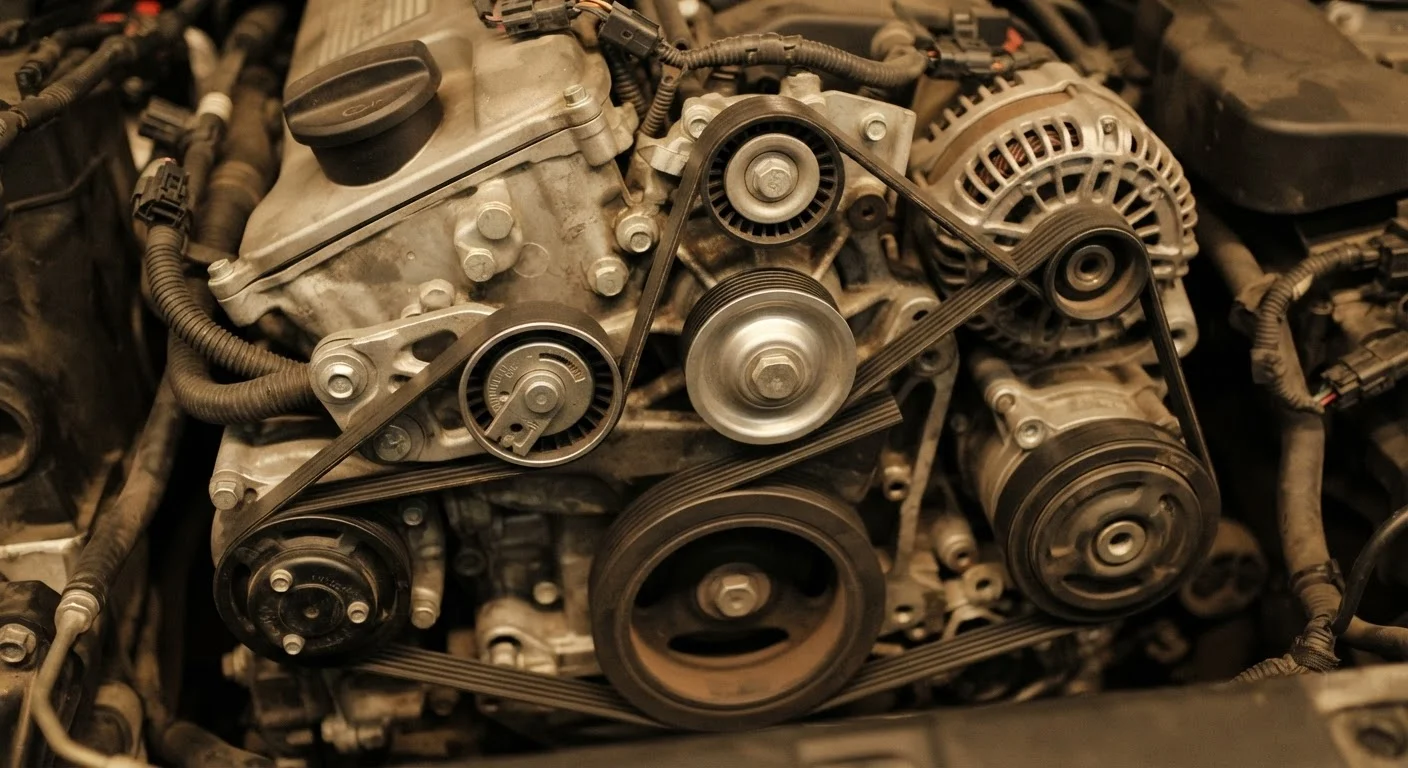
A serpentine belt drives multiple engine accessories from a single loop - typically the alternator, power steering pump, air conditioning compressor, water pump, and smog pump depending on your vehicle. Because the belt weaves around several pulleys in a specific pattern, reinstalling it incorrectly is entirely possible and surprisingly common. A misrouted belt may skip a pulley, run on the wrong side of an idler, or simply pop off under load.
The routing diagram is therefore the most critical piece of information for this job - more important than the belt part number itself. Modern vehicles usually have a small sticker showing the serpentine belt path mounted somewhere on the radiator support, fan shroud, or strut tower brace. Older vehicles may have faded or missing stickers, making pre-removal documentation essential.
No Sticker? Check These Sources
If the underhood routing sticker is missing or illegible, the owner's manual often includes a diagram in the maintenance section. Vehicle-specific forums and free online service databases are also reliable sources for routing diagrams. Download or screenshot any diagram you find before starting - having it accessible on your phone during the job is far more convenient than returning to a laptop.
What You'll Need Before Starting
Gather your tools and reference materials before you touch the belt. Working unprepared is how mistakes happen.
What you will need
Serpentine Belt Tool or Breaker Bar
Used to rotate or hold the automatic belt tensioner so the belt can be slipped off.
Socket Set and Ratchet
Needed to access the tensioner bolt and any bolts blocking access to the belt path.
Smartphone or Digital Camera
Used to photograph the belt routing clearly before removing the old belt.
Flashlight or Work Light
Illuminates the belt path in deep or shadowed areas of the engine bay.
Notepad and Pen
Backup method for sketching the routing diagram if photos are unclear.
Torque Wrench
Ensures any refastened brackets or tensioner bolts are tightened to OEM spec.
Step-by-Step: Documenting, Removing, and Reinstalling
Follow these steps in order. Skipping the documentation step is the most common cause of a failed DIY serpentine belt job.
Locate and Record the Existing Routing Diagram
Before doing anything else, look for the factory routing sticker on the underside of the hood, the radiator support, or the fan shroud. Photograph it clearly. Then take two to three additional photos of the actual belt in place from different angles - top-down, front, and from the side if accessible. If the sticker is missing, trace the path by hand and sketch it on paper, noting which side of each pulley the belt contacts and whether any pulleys have a smooth backside wrap.
Identify the Tensioner and Release Belt Tension
The automatic belt tensioner is a spring-loaded pulley that keeps the belt taut. Locate it - it's usually identifiable by a square or hexagonal drive socket in the center. Insert your breaker bar or serpentine belt tool, rotate the tensioner in the direction specified for your vehicle (typically clockwise, but confirm with your service manual), and hold it in the released position. Do not cut the belt; the tensioner must be properly backed off to safely remove and reinstall.
Remove the Old Belt
With tension released, slip the belt off one pulley - typically the tensioner pulley or the smoothest access point - then work it free from the remaining pulleys. Note any pulley that the belt wraps on the flat (back) side versus the ribbed side; this is important for reinstallation. Set the old belt aside but don't discard it until the job is complete - it can serve as a reference.
Inspect Pulleys and the Tensioner
Spin each pulley by hand with the belt removed. Listen for grinding, feel for roughness, and look for wobble. Check the tensioner by observing whether it returns smoothly to its stop - a weak or erratic return indicates the spring is worn. Inspect pulley surfaces for glazing, cracking, or scoring. Wipe each pulley clean with a dry cloth. Do not use oil-based solvents near accessory seals.
Route and Install the New Belt
Using your routing photos as a guide, thread the new belt around all pulleys except the tensioner pulley last. Match ribbed side to grooved pulleys and smooth side to any smooth idlers, exactly as documented in Step 1. Once all other pulleys are engaged, use the tensioner tool to rotate the tensioner off its stop, slip the belt over the tensioner pulley, and slowly release the tensioner to take up the slack.
Verify Alignment and Test
Before starting the engine, rotate the engine by hand (using the crankshaft bolt) through at least two full revolutions if accessible, watching the belt track straight on each pulley. Then start the engine and observe the belt from a safe distance with the hood up - look for any wobble, side-tracking, or unusual noise. Let the engine run for two to three minutes at idle, then shut it off and re-inspect belt seating. A correctly installed belt will sit flat, centered, and quiet.
Common Problems and When to Involve a Mechanic
A stripped or frozen tensioner bolt is the most frequent complication. If the tensioner pivot won't move or feels gritty rather than spring-loaded, the tensioner assembly itself may need replacement - a tensioner that no longer maintains proper belt tension will cause premature belt wear and accessory slip. Budget tensioner replacement if the belt is high-mileage; many technicians recommend replacing both at the same service interval.
If any pulley wobbles, produces a grinding noise when spun by hand, or shows scoring on the bearing face, that component needs replacement before the new belt goes on. Running a new belt over a failing pulley transfers the damage quickly.
A Misrouted Belt Can Damage Multiple Systems
A belt installed incorrectly - even by one pulley - can run a driven accessory in the wrong direction, strip a power steering pump, or overheat the engine by driving the water pump improperly. The signs may not be immediate, but damage accumulates quickly. Always confirm your routing against two independent sources before starting the engine.
If you're working on a vehicle with a timing belt driven water pump, confirm before you start whether the serpentine belt and timing belt share any components. Confusing the two systems can lead to serious engine damage. When in doubt, consult a vehicle-specific service manual or have a qualified mechanic perform the work.