Why Brake Jobs Demand a Different Mindset
Most DIY maintenance tasks are forgiving. A slightly loose air filter or a missed torque spec on an oil drain plug rarely puts anyone at risk. Brake pad replacement is categorically different. The braking system is the single component most responsible for preventing a collision, and a pad installed incorrectly - a stuck caliper missed, a piston not fully reseated, a brake hose left kinked - can translate directly into reduced stopping power when you need it most.
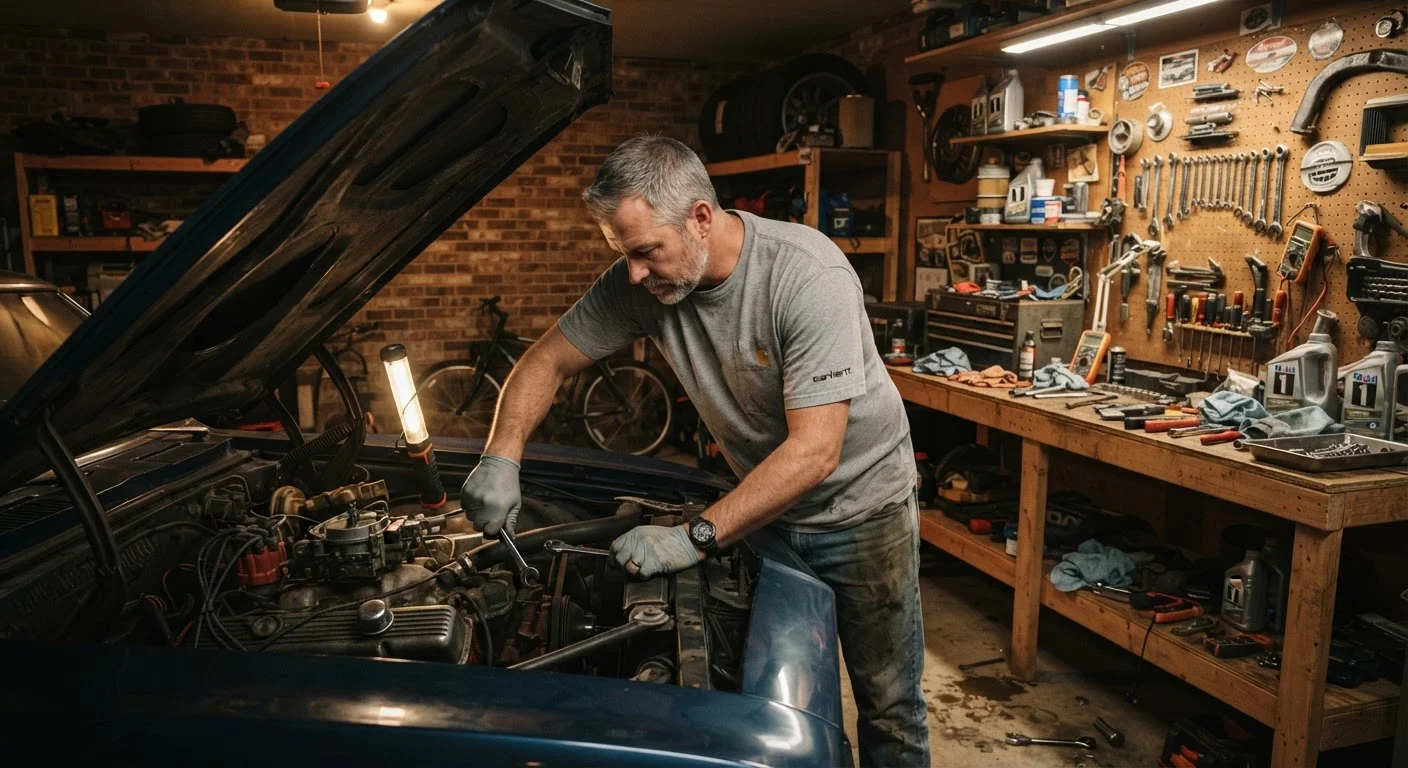
That framing is not meant to scare anyone away from the job. It is meant to calibrate your approach. Thousands of home mechanics safely replace brake pads every weekend. The ones who do it without incident share a common habit: they treat brake work as methodical, not mechanical. Every step is verified, not assumed.
Before turning a wrench, review the complete DIY maintenance guide to confirm your workspace and tools are genuinely ready for safety-critical work.
Always Consult a Vehicle-Specific Service Manual
Generic brake pad instructions cover the broad strokes, but caliper bolt torque specs, piston retraction methods, and slide pin lubrication points vary significantly by vehicle make, model, and year. A factory service manual or a reputable vehicle-specific repair database is the authoritative source - not a one-size-fits-all tutorial. Many public libraries offer free access to professional repair databases.
What the Job Actually Involves
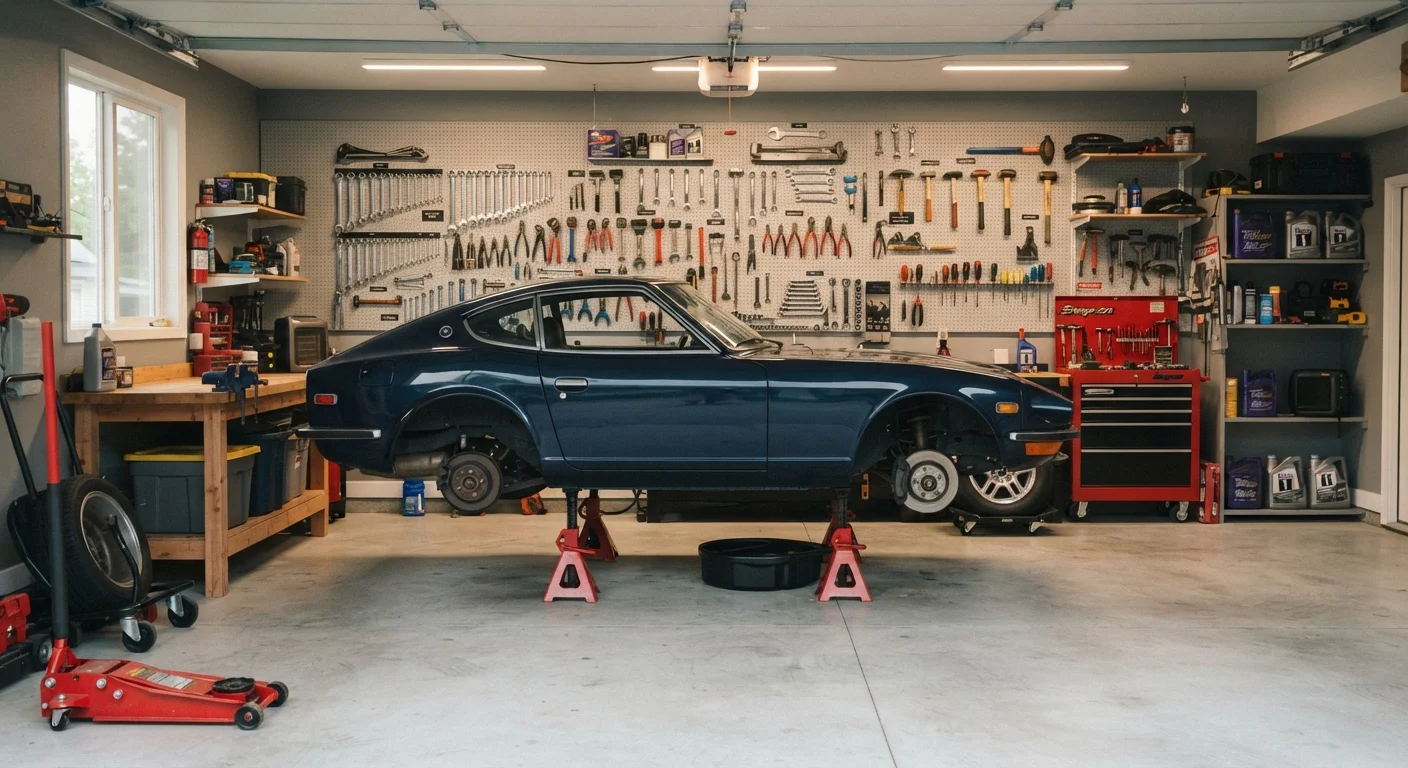
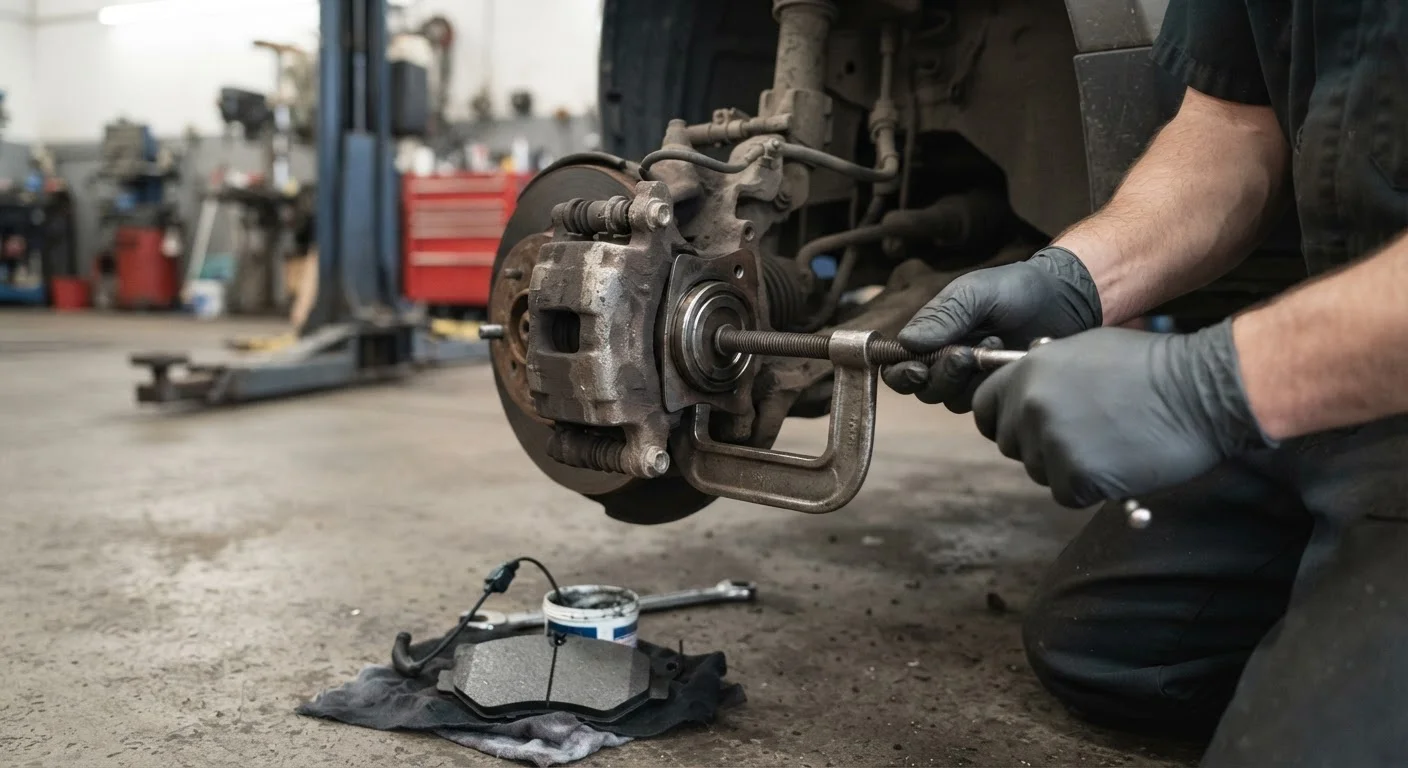
A standard front brake pad replacement on a disc brake system follows a predictable sequence: safely lift and support the vehicle on rated jack stands, remove the wheel, unbolt the caliper (without letting it hang by the brake hose), remove the old pads, compress the caliper piston back into its bore to create clearance for the thicker new pads, install the new pads, reinstall and torque the caliper hardware to spec, reinstall the wheel, and pump the brake pedal several times before driving.
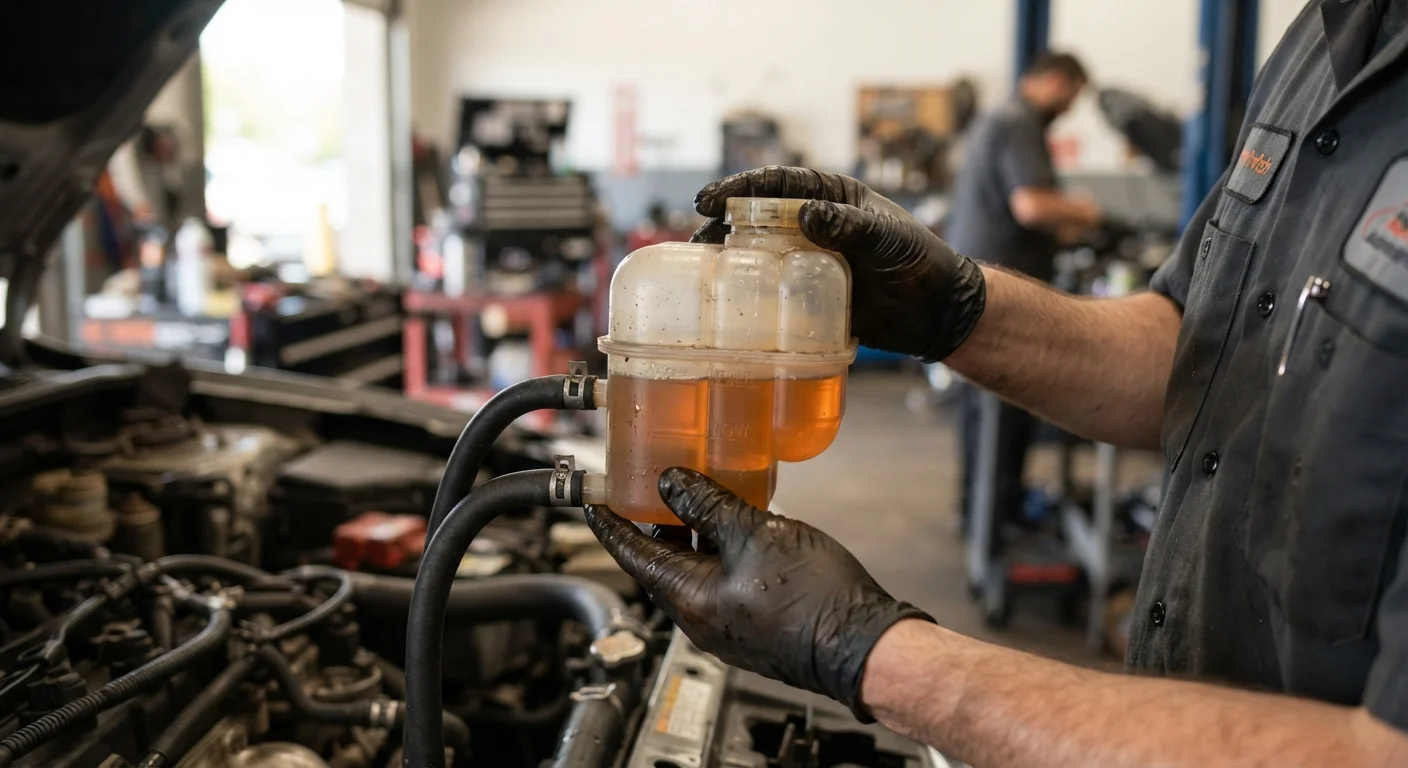
Each of those steps has a failure mode. The piston compressed without checking the brake fluid reservoir can overflow. The caliper torqued by feel rather than specification can back out. The pads installed without lubricating the correct contact points can squeal or seize. Understanding the why behind each step matters as much as knowing the sequence. See how brake pads, rotors, and calipers work together to build that foundational understanding before starting.
Rear brakes on many modern vehicles add one significant complication: electronic parking brakes. These calipers use a motor-driven mechanism, meaning the piston must be wound back with a specific tool rather than pressed. Attempting to press an EPB piston with a C-clamp can strip the internal thread or damage the motor. If your vehicle has this system and you do not have the correct tool and procedure, this portion of the job belongs at a shop.
25,000-70,000 mi
Typical brake pad service life range
Lifespan varies widely based on driving patterns, pad compound, and vehicle weight - city driving significantly shortens intervals compared to highway use.
3 mm
Commonly cited minimum pad thickness before replacement
Many mechanics and vehicle manufacturers recommend inspection or replacement when pad friction material reaches approximately 3mm, though OEM specs vary - always verify against your vehicle's service manual.
Red Flags That Stop the Job
Part of the safety framing every home mechanic needs is a clear list of stop conditions - discoveries during the job that mean the vehicle should not be driven until a professional has assessed it:
- Seized caliper: If a caliper piston will not compress or the slider pins are frozen, the caliper is likely not releasing properly. New pads will not fix this and may mask uneven wear until a rotor is destroyed or a pad overheats.
- Rotors below minimum thickness: Every rotor has a minimum thickness stamped into it. If your measurement is at or below that figure, the rotor must be replaced. Thin rotors can crack under braking heat. Review brake system wear basics for guidance on what to inspect.
- Brake fluid contamination or leaks: Oil or brake fluid on the pads or rotor surface dramatically reduces friction. Locate and repair the source before completing any brake work.
- Cracked or deeply grooved rotors: Surface rust is normal after rain. Deep grooves, hard spots, or visible heat cracks are not. These require replacement, not resurfacing.
If any of these conditions appear, stop and document what you found. The repairs most DIYers attempt too early covers why pushing through a red flag often costs more than the original repair would have.
Setting Up for Success Before You Start
The margin for error in brake work is narrow enough that preparation is a genuine safety measure, not a formality. Work on a level, solid surface - never on an incline or soft ground. Use rated jack stands at the manufacturer-specified lift points; a hydraulic jack alone is not a support device. Gather every tool before the wheel comes off so you are not improvising mid-job.
Use the home mechanic's pre-job checklist as a concrete starting point. For brake work specifically, confirm you have: a torque wrench and the caliper bolt torque spec from a service manual (not a forum estimate), the correct brake cleaner, appropriate caliper grease for slide pins (never on the rotor or pad friction face), and a way to handle the old brake fluid displaced when compressing the piston.
After the job is complete, pump the brake pedal repeatedly in the driveway until it firms up - this re-seats the pads against the rotors. Perform a series of low-speed stops before returning to normal driving. New pads also benefit from a proper bed-in procedure that gradually builds heat, which helps transfer an even layer of pad material to the rotor surface and reduces noise and fade. Consult the pad manufacturer's recommended bed-in sequence for the specific compound you installed.
This article provides general educational information about brake pad replacement and is not a substitute for a vehicle-specific service manual or advice from a qualified mechanic. Always consult a licensed professional if you are uncertain about any aspect of brake system service.