Why Preparation Is the Actual Job
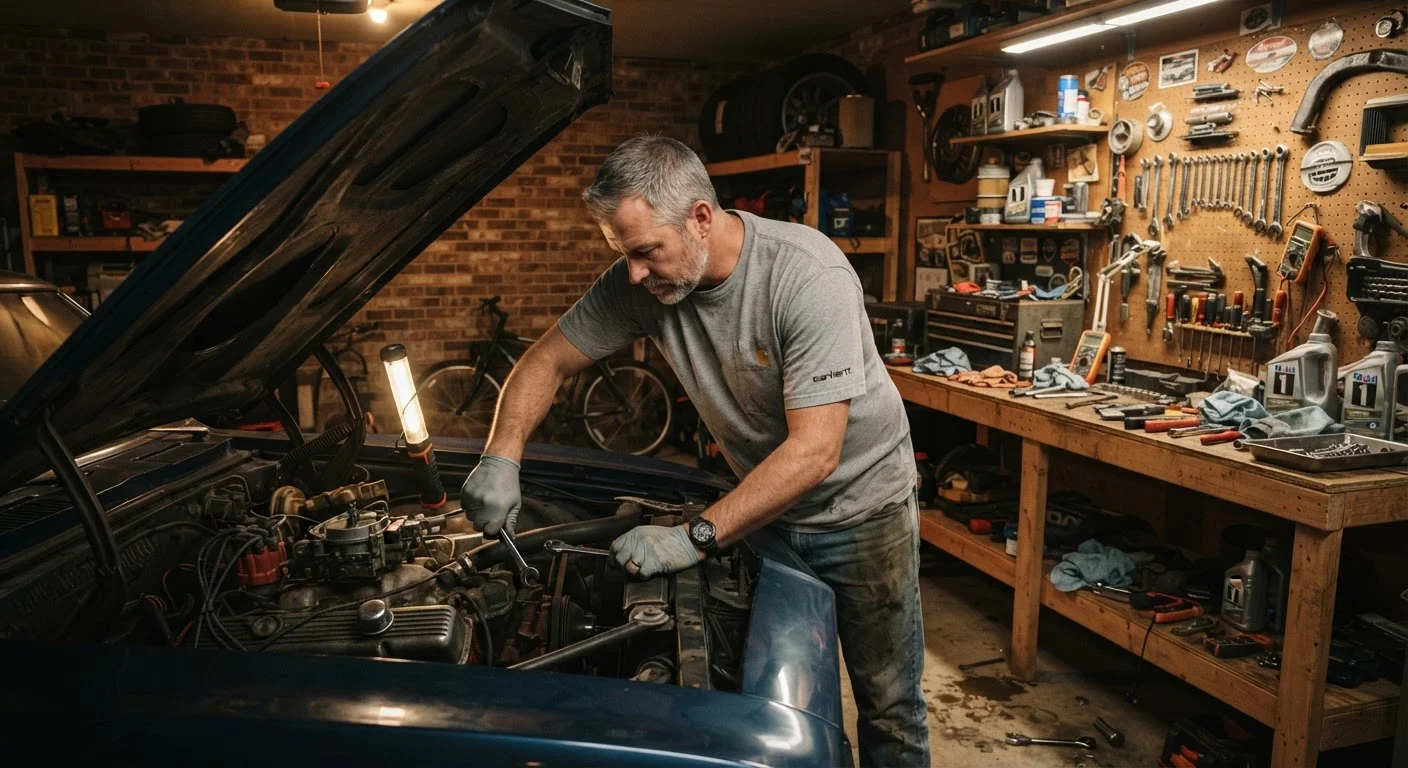
Most DIY repair problems don't start under the car - they start before the first bolt turns. A missing socket size, a part ordered in the wrong spec, or an unstable lift point can turn a straightforward oil change or brake job into an afternoon emergency. Running a deliberate pre-job checklist closes those gaps before they become problems.
This checklist is designed for home mechanics tackling everyday fixes: fluid services, brake work, suspension components, filters, belts, and similar tasks. If you're evaluating a vehicle you don't yet own, the pre-purchase inspection process covers different ground entirely. And before you decide whether a job belongs in your driveway or at a shop, it's worth reading an honest breakdown of DIY costs and limits.
Work through the groups below in order. Check each item off before moving on.
Workspace & Safety Setup
Personal Protective Equipment
Parts & Fluids Verification
Tools & Reference Materials
Go / No-Go Decision
Tools, Parts, and What to Do If You Hit a Wall
The tool and parts sections of this checklist deserve extra attention because they're where most first-time and intermediate mechanics lose time. Showing up to a job with a generic parts-store component that doesn't match your vehicle's OEM torque spec - or discovering mid-job that your torque wrench doesn't reach the fastener - means the car stays in the air longer than planned.
Never Substitute an Unstable Lift for Proper Stands
Working under a vehicle supported only by a floor jack - or by improvised supports like wood blocks or cinder blocks - is a leading cause of serious workshop injuries. Always use rated jack stands placed at the vehicle manufacturer's designated lift points. Confirm the stands are locked and the vehicle is stable before going underneath.
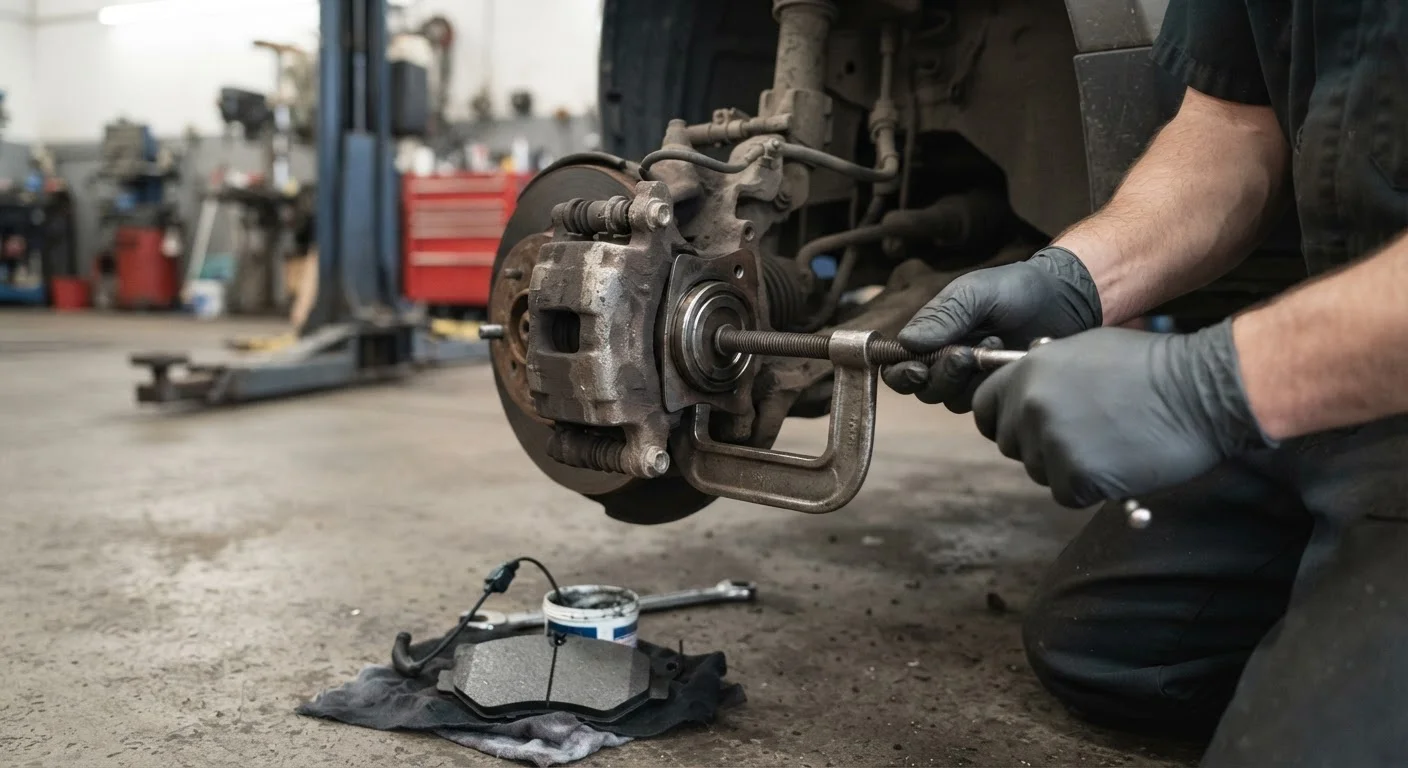
When confirming parts, cross-reference your vehicle's year, make, model, engine displacement, and trim level. For brake components in particular, verify whether your vehicle has single- or dual-piston calipers, as this affects pad geometry. The Parts Explained hub breaks down what key components do and when replacement is warranted.
If during your pre-job review you find the job has expanded beyond your current tools, skill level, or workspace - stop. Partial disassembly of a braking or suspension system is genuinely dangerous. Know your limit. For brake jobs specifically, review the safety framing every home mechanic needs first before proceeding.
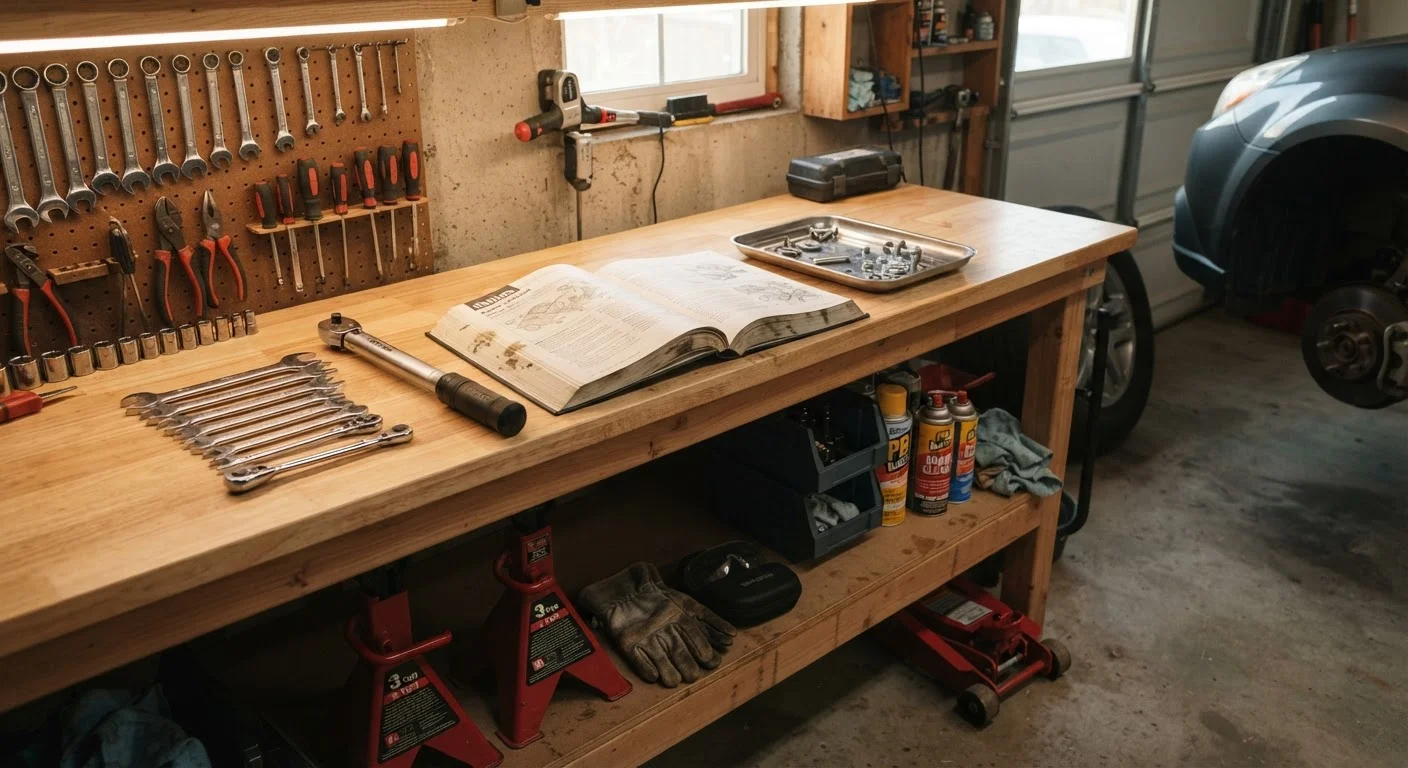
Vehicle-Specific Service Manual
Provides OEM torque specs, fluid capacities, and step-by-step repair procedures for your exact vehicle.
Calibrated Torque Wrench
Ensures fasteners are tightened to spec - critical for brake, suspension, and engine work.
Floor Jack and Rated Jack Stands
Safely raises and supports the vehicle at manufacturer-specified lift points.
Socket and Wrench Set (metric and SAE)
Covers the range of fastener sizes found across most domestic and import vehicles.
Drain Pan and Fluid Disposal Containers
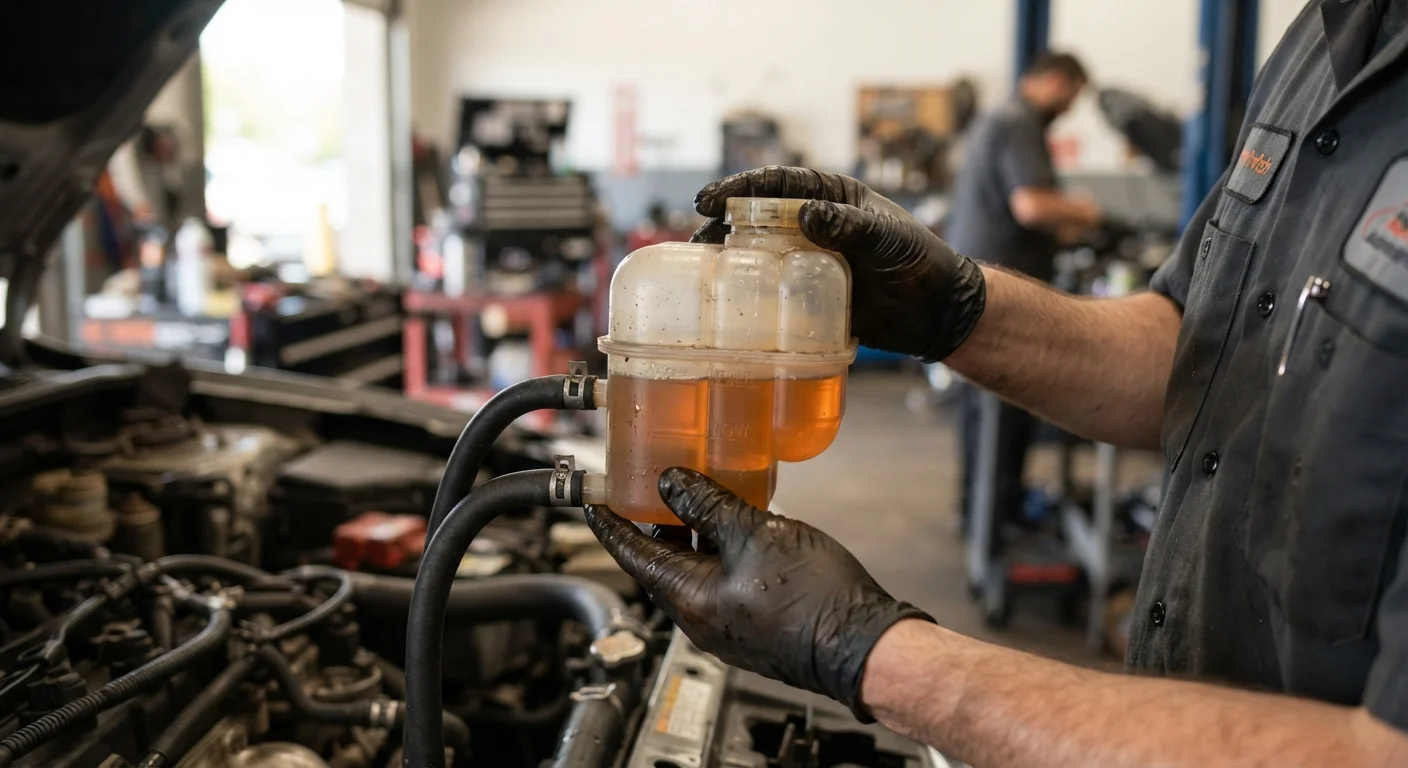
Captures used oil, coolant, or brake fluid for safe, compliant disposal at a recycling facility.
Parts Tray or Labeled Containers
Keeps removed hardware organized so reassembly goes in the correct sequence.
Penetrating Lubricant
Frees corroded or seized fasteners before applying torque, reducing the risk of rounding or snapping.
Once the job is complete and the vehicle is back on the ground, update your service log and cross-reference the relevant interval in the Routine Maintenance hub so you know when the next service is due.