Why Replacing the Battery Doesn't Always Fix the Problem
A battery that dies shortly after replacement is one of the more frustrating problems a vehicle owner can face - and one of the most misdiagnosed. The battery is rarely the root cause. It's the victim. Something upstream is either draining it faster than the alternator can recharge it, or the charging system has failed to top it off in the first place.
Understanding the difference between a battery problem and a charging system problem is the first step toward an accurate fix. This article walks through the most common mistakes drivers and DIYers make when dealing with repeat battery failures, and how to avoid each one.
Assuming the battery itself is the problem without testing the charging system first.
Why it happens: A dead battery is the most visible symptom, so it gets replaced first - often without checking whether the alternator or a parasitic drain caused the failure.
Ignoring a parasitic draw that slowly drains the battery overnight.
Why it happens: Parasitic draw - current pulled from the battery when the vehicle is off - is invisible to the eye and easy to overlook if you're focused on the battery itself.
Installing the wrong battery group size or chemistry for the application.
Why it happens: Many shoppers default to whichever battery fits physically, without confirming CCA rating, reserve capacity, or whether the vehicle requires an AGM (absorbed glass mat) battery.
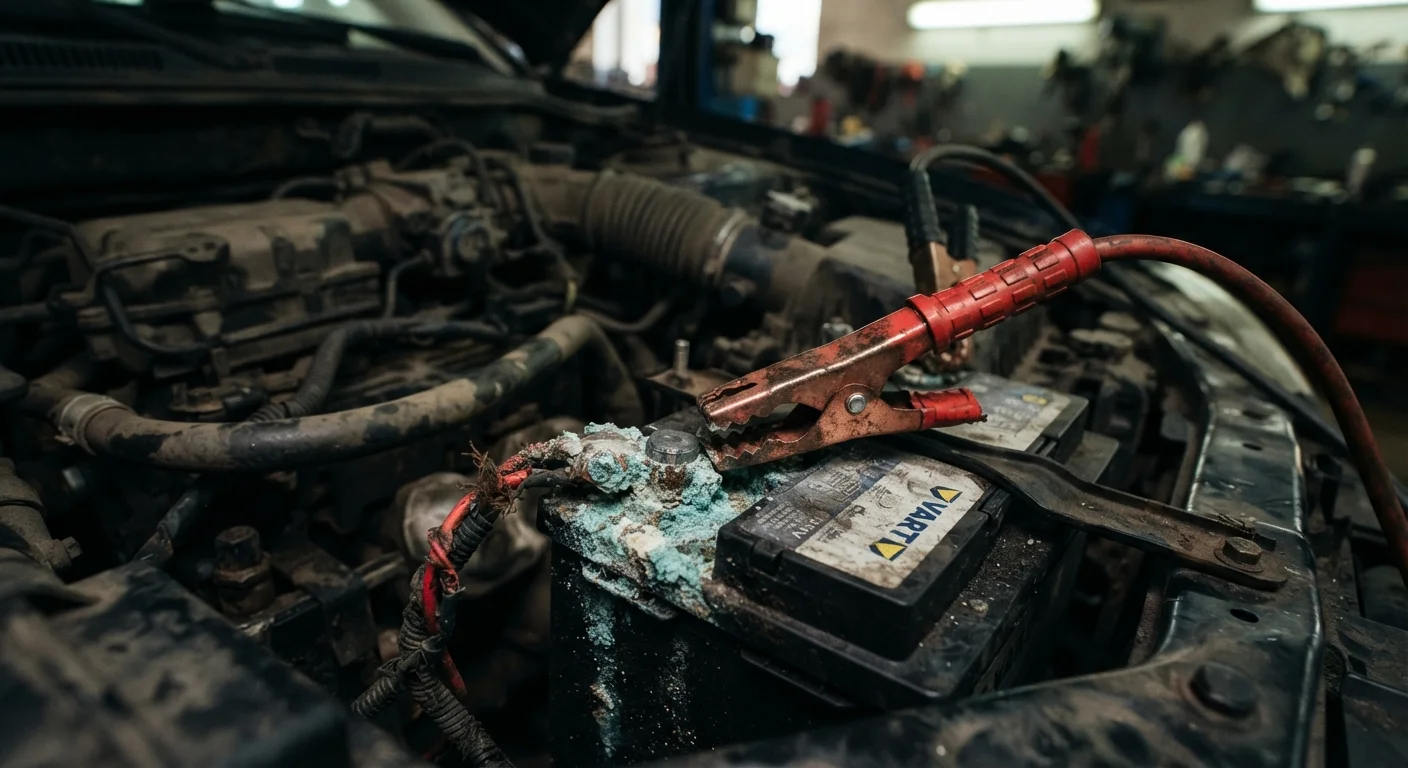
Neglecting corroded or loose battery terminals after a replacement.
Why it happens: Installers focus on swapping the battery and overlook cleaning the terminal clamps, which can carry corrosion buildup that creates resistance in the circuit.
Relying on short daily drives to recharge a deeply discharged battery.
Why it happens: Drivers assume the alternator will restore the battery during normal driving, but short trips - typically under 20 minutes - may not provide enough run time to overcome the discharge from starting.
How to Diagnose Battery Drain at Home
The good news is that most of the culprits covered above are diagnosable with a basic multimeter - a tool that costs less than most batteries and pays for itself quickly. Here's a practical sequence to follow:
- Check resting voltage. With the engine off and all accessories off, a fully charged 12-volt lead-acid battery should read between 12.6 and 12.8 volts. Anything below 12.4 volts indicates a partial discharge; below 12.0 volts suggests a deeply discharged or failing battery.
- Test alternator output. Start the engine and measure voltage at the battery terminals. A reading between 13.7 and 14.7 volts confirms the alternator is charging. Outside that range points to a charging system issue.
- Check for parasitic draw. After fully shutting down the vehicle and waiting for all modules to sleep (30-45 minutes), measure current draw in series on the negative cable. Anything above roughly 50 milliamps warrants fuse-by-fuse isolation.
- Inspect terminal condition. Look for white or blue-green corrosion at the clamp-to-post contact point. Even slight buildup causes measurable voltage drop.
Don't Skip Safety Steps During Diagnosis
Working around a vehicle's electrical system carries real risks, including short circuits and acid exposure. Always disconnect the negative terminal before inspecting connections, wear safety glasses when handling batteries, and consult a qualified mechanic if you're uncertain about any step. Never test for parasitic draw with the engine running.
For vehicles with solar charging setups - common on RVs and camper vans - charging problems often have an additional layer of complexity. Our guide on why solar setups undercharge batteries covers controller mismatches and shading issues worth reviewing.
Wrong Battery Spec Can Damage Your Vehicle
Installing a battery with the wrong cold cranking amps (CCA) rating or group size can strain your charging system and confuse modern battery management systems found in many late-model vehicles. Always cross-reference your owner's manual or the OEM spec label under the hood before purchasing a replacement.
This article provides general educational information about vehicle electrical systems and is not a substitute for diagnosis by a qualified mechanic. Electrical system work carries risk of injury or damage if performed incorrectly - consult a professional if you're unsure about any step.