What the Oxygen Sensor Actually Does
Your engine's ideal air-fuel mixture - known as the stoichiometric ratio - is approximately 14.7 parts air to 1 part fuel. Achieving that ratio under constantly changing load, temperature, and throttle conditions is impossible without live feedback. That's exactly what the oxygen sensor provides.
Mounted in the exhaust manifold or pipe, the sensor generates a voltage signal based on the difference between oxygen in the exhaust stream and oxygen in the outside air. A signal above roughly 0.45 volts indicates a rich mixture (too much fuel); below that suggests a lean mixture (too little fuel). The ECM reads this signal dozens of times per second and adjusts fuel injector pulse width accordingly - a process called closed-loop fuel control.
Without accurate sensor data, the ECM defaults to pre-programmed open-loop tables, which are far less precise and typically run the engine richer to protect against lean misfires. The result is wasted fuel, higher emissions, and reduced performance.
Closed-Loop vs. Open-Loop Operation
Engines run in open-loop mode during cold starts and wide-open throttle, ignoring oxygen sensor input and relying on fixed fuel maps instead. Closed-loop mode - where the sensor actively controls fuel trim - engages once the engine reaches operating temperature. This distinction explains why a bad sensor's effects are most apparent during normal cruising, not immediately at startup.
Upstream vs. Downstream: Two Jobs, One System
Passenger vehicles equipped with catalytic converters almost always carry at least two oxygen sensors per exhaust bank. Understanding the distinction clarifies why a fault code matters:
- Upstream sensor (pre-cat): Located before the catalytic converter, this is the active control sensor. The ECM relies on it continuously to trim fuel delivery.
- Downstream sensor (post-cat): Positioned after the catalytic converter, this sensor evaluates how well the converter is doing its job. If both sensors read similarly, the ECM interprets this as a failing catalyst - not a sensor issue.
Swapping sensors between positions or installing the wrong type can generate misleading fault codes. Always verify the sensor's position designation when sourcing a replacement part.
How a Failing Sensor Hides in Plain Sight
Oxygen sensor degradation is rarely sudden. The sensor's output typically becomes sluggish first - it still produces a signal, but responds slowly to mixture changes. The ECM may compensate partially, masking the problem until degradation crosses a threshold that triggers a stored fault code and illuminates the Check Engine light.
Common symptoms worth noting:
- Measurably worse fuel economy over time
- Rough idle or hesitation under acceleration
- Failed emissions inspection (high HC or CO readings)
- A sulfur or rotten-egg smell, sometimes indicating a rich condition stressing the catalytic converter
Because these symptoms overlap with other faults - a dirty mass airflow sensor, failing fuel injectors, or a vacuum leak - jumping straight to replacement without a confirmed code is an easy diagnostic mistake. Reading your own OBD-II fault codes at home is a practical first step before purchasing any parts.
Up to 40%
Potential fuel economy loss from a failed O2 sensor
The U.S. Department of Energy has noted that a faulty oxygen sensor can reduce fuel economy by as much as 40% in severe failure cases.
60,000-100,000 mi
Typical lifespan of a heated oxygen sensor
Heated (four-wire) sensors are the most common modern type and generally reach this interval under normal operating conditions.
P0130-P0167
OBD-II code range for oxygen sensor faults
These standardized codes identify the affected sensor bank and position, helping narrow diagnosis before any parts are replaced.
Replacement Considerations and When to Call a Professional
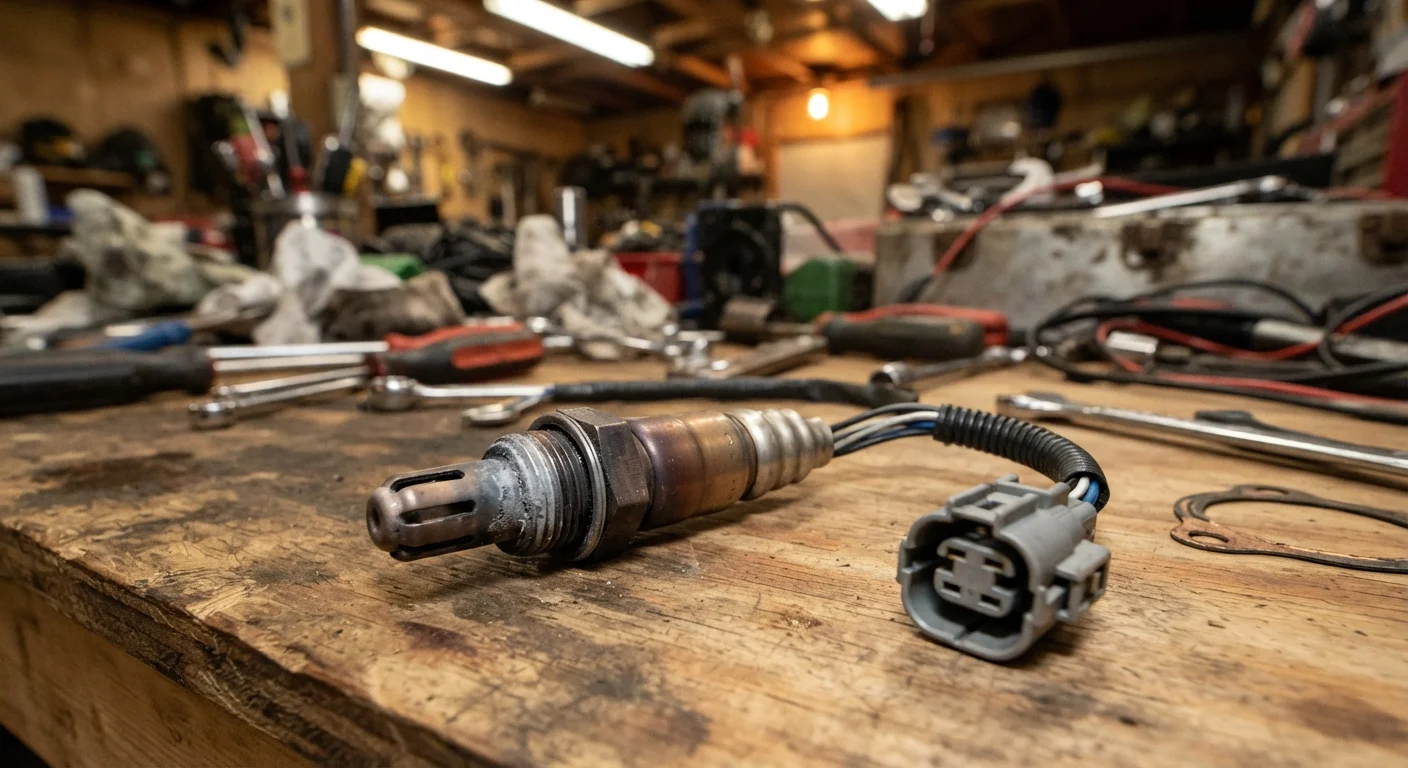
For many vehicles, sensor replacement is an accessible DIY task. The sensor threads into the exhaust bung like a spark plug and disconnects via a wiring harness clip. However, heat-seized sensors on high-mileage vehicles can require penetrating lubricant, an oxygen sensor socket, and patience - forcing a corroded sensor risks damaging the bung or exhaust pipe.
Use an Anti-Seize Compound Correctly
When installing a new oxygen sensor, check whether the replacement comes pre-coated with anti-seize on the threads. Applying additional compound over a pre-coated sensor can affect the torque reading and, on some sensors, interfere with the electrical ground path through the housing. Follow the manufacturer's installation instructions for the specific unit you're fitting.
Before purchasing a replacement, confirm the fault code identifies the sensor as faulty - not a wiring issue or ECM problem. Inspect the connector and wiring harness for corrosion or chafed insulation, since a damaged wire can mimic a dead sensor. After replacement, clear the stored code and drive through a full warm-up cycle so the ECM can recalibrate closed-loop control.
If you're unsure about sensor type compatibility, a qualified mechanic or dealership service department can verify the correct specification for your application. This is especially important on turbocharged engines or vehicles with complex dual-exhaust configurations, where incorrect fitment can cause further issues.