Why Full-Timers Need a Repeatable Arrival Routine
Pulling into a new campsite carries a deceptive sense of completion - you made it. But for full-time RV dwellers, arrival is the start of a process, not the end of one. Every new site introduces unknowns: uneven ground, questionable electrical pedestals, low-hanging branches, and neighbors whose generator habits you haven't learned yet.
A structured arrival checklist eliminates decision fatigue. After weeks on the road, it's easy to skip a step you've done a hundred times - and that's exactly when a leveling error torques your slide-out frame or an unfiltered water connection introduces sediment into your lines. The items below are sequenced deliberately: each group builds on the last, so rushing ahead creates compounding problems.
If you're newer to full-time living, our guide to transitioning to full-time RV life covers the broader preparation decisions worth making before the road becomes home. For a deep-dive on the physical hookup process itself, the site setup walkthrough covering leveling, hookups, and stabilization is the companion read to this checklist.
Never Level Using Slide-Outs or Jacks Alone
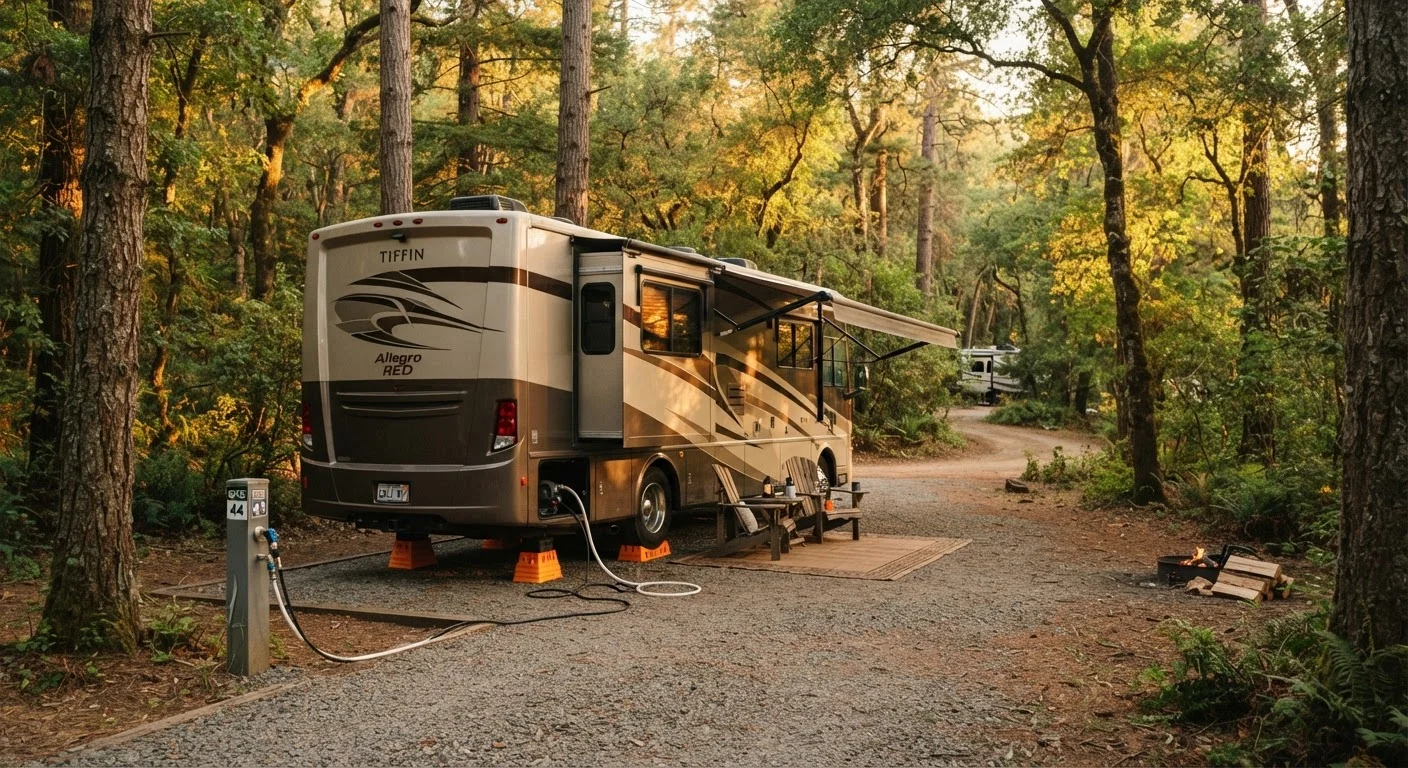
Extending slide-outs on an unlevel RV puts abnormal stress on the slide mechanism and seals, shortening their service life. Stabilizer jacks are designed to reduce movement - not to lift or level the coach. Always achieve your target level with blocks or ramps under the tires first, then deploy stabilizers as a secondary step.
The Arrival Checklist
Work through these groups in order. Check each item before moving to the next group - sequence is intentional.
Site Assessment (Before You Stop Rolling)
Parking and Leveling
Electrical Hookup
Water and Sewer Connections
Interior and Systems Check
Keep this checklist accessible on your phone or printed inside a cabinet door. Consistency is the goal: the same order, every campsite, every time. Full-timers who maintain seasonal upkeep alongside per-arrival checks can reference the seasonal vehicle maintenance checklist for the broader calendar of tasks that sit outside day-to-day arrivals.
Electrical Pedestal Problems Are Common - Check Before You Plug In
Campground electrical infrastructure varies widely, and a faulty pedestal can deliver low voltage, miswired outlets, or dangerous surges. A quality surge protector or electrical management system is not optional for full-timers - it is the single most protective device between your rig and a costly repair. If a pedestal shows visible damage or your surge protector trips immediately on connection, disconnect and notify campground management before troubleshooting further.
Tools and Supplies to Have Ready at Arrival
Running this checklist efficiently depends on having the right gear stowed and accessible - not buried under a week's worth of provisions. Organize arrival essentials in one dedicated storage compartment so you're not hunting for a water pressure regulator while the pump at the next site over is running.
Wheel Chocks
Prevent rolling on any grade before leveling or unhitching begins.
Bubble Level or Digital Level
Confirm side-to-side and front-to-back level before deploying slides or stabilizers.
Leveling Blocks or Ramps
Raise the low side of the RV incrementally to achieve a level park position.
Surge Protector / Electrical Management System
Monitor and guard against voltage spikes, low voltage, or wiring faults at the campground pedestal.
Inline Water Pressure Regulator
Limit incoming water pressure to a safe range for your RV's plumbing system.
Potable Water Hose
Deliver fresh water from the spigot to your RV without contamination risk.
Inline Water Filter
Remove sediment and improve water quality when campground source quality is unknown.
Sewer Hose and Fittings
Connect your RV's waste outlets to the campground sewer cleanout securely.
For rig-specific maintenance schedules and component care across different RV classes, the RV maintenance hub covers routine upkeep and seasonal service intervals in detail.