Why the Roof Deserves More Attention Than It Gets
The roof of an RV takes a relentless beating - UV radiation, thermal expansion and contraction, wind, rain, and debris - yet it's the one component most owners rarely think about until something goes wrong. By then, water has often already infiltrated the structure, quietly compromising the wood substrate, insulation, and interior walls.
Water intrusion is the single most destructive force in an RV's lifespan. Unlike a stick-built home, an RV's walls and ceiling panels are often bonded composites that swell, delaminate, and rot quickly once moisture finds its way in. A pinhole breach in a roof seam, left unaddressed for a single season, can escalate into a repair bill that rivals the rig's market value.
Part of a well-rounded approach to RV upkeep - something the first-year maintenance overview covers in detail - is recognizing the roof as a priority system, not an afterthought.
~90%
Of RV water damage linked to roof or seal failure
Industry service technicians consistently cite compromised roofing and sealant as the dominant cause of water intrusion claims in RVs.
2x/year
Minimum recommended roof inspection frequency
Most RV manufacturer guidelines and technician organizations recommend at least bi-annual roof inspections, plus checks after major weather events.
5-10 years
Typical EPDM roof membrane service life
With proper UV protection and sealant maintenance, EPDM membranes commonly last between five and ten years before requiring full replacement.
Know Your Roof Material Before You Do Anything Else
Effective roof maintenance starts with identifying what your roof is made of. Using the wrong cleaner or sealant on the wrong material can cause as much harm as no maintenance at all.
- EPDM Rubber: The most prevalent material on towable RVs and many motorhomes. It's flexible, relatively durable, and UV-resistant when properly maintained. It requires gentle cleaning with soap and water or an EPDM-specific cleaner - never petroleum-based solvents, which break down the membrane. Recoating with a UV protectant annually extends its service life noticeably.
- TPO (Thermoplastic Polyolefin): Increasingly standard on newer builds. TPO is white, heat-reflective, and resistant to punctures and UV degradation. It requires compatible TPO sealants; EPDM products are not interchangeable.
- Fiberglass: Common on higher-end motorhomes and some fifth wheels. More rigid and impact-resistant than membrane roofs, but susceptible to cracking and oxidation. Waxing and UV protection are part of its regular care regimen.
- Aluminum: Found on older or commercial-style RVs. Durable but prone to seam separation and corrosion around fasteners over time.
If you're unsure which material your rig has, check the manufacturer's documentation or look for a label inside a roof vent or access hatch. The RV Types & Classes hub provides broader context on how construction methods vary by rig category.
What to Look For During a Roof Inspection
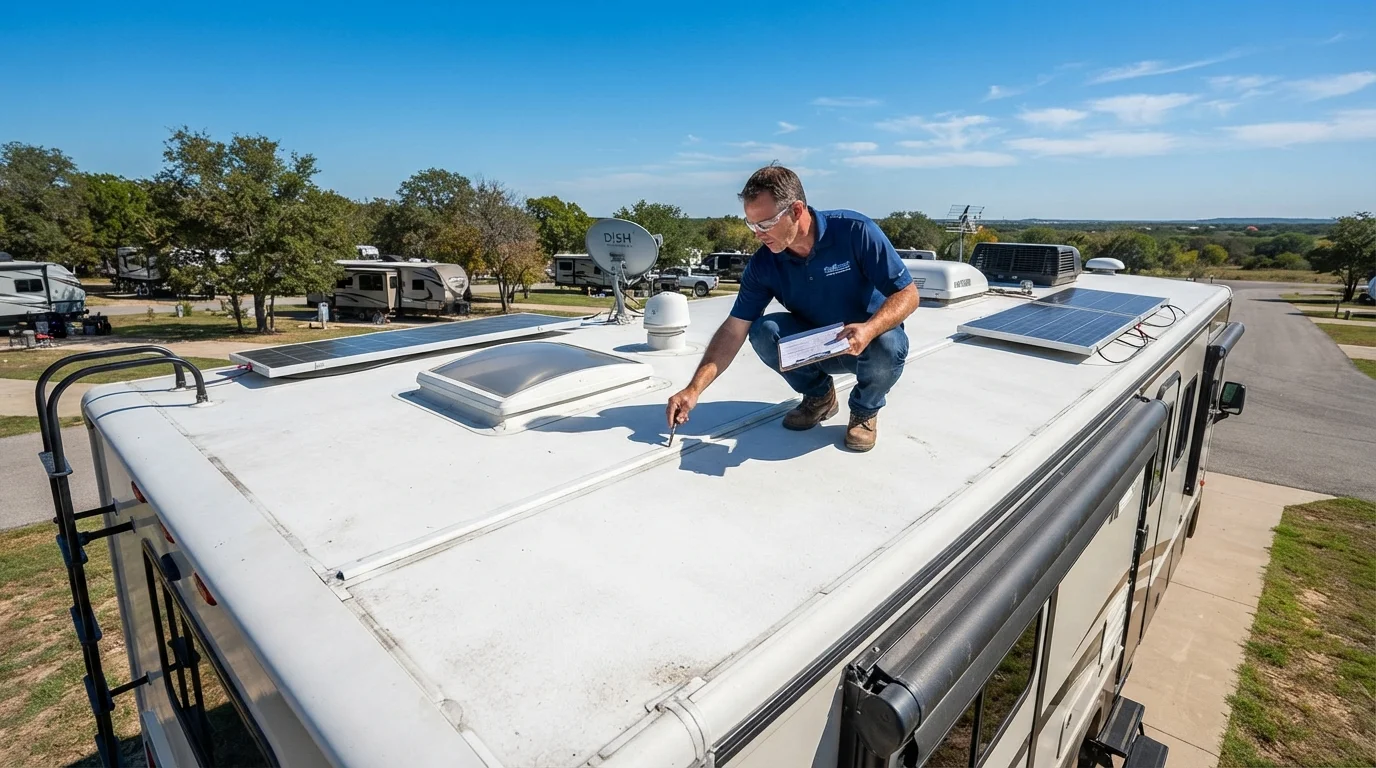
A thorough inspection doesn't require specialized equipment - but it does require methodical attention. Work in a consistent pattern across the entire roof surface, and bring a notepad or phone to document anything questionable.
Critical Inspection Points
- Seams and edges: These are the highest-risk areas for sealant failure. Look for cracking, shrinkage, gaps, or lifting at any seam where the roof membrane meets another surface.
- Around every penetration: Vents, air conditioner bases, antennas, and skylights are all spots where sealant must remain intact. Even minor gaps here funnel water directly into the structure.
- Surface condition: On rubber roofs, look for chalking, crazing (fine surface cracks), or areas where the membrane appears thin or discolored. Soft spots underfoot can indicate subsurface moisture damage.
- Drainage: Ensure the roof drains properly and water isn't pooling, which accelerates membrane degradation.
Roof issues rarely exist in isolation. If you find compromised sealant on top, it's worth checking the slide-out seals as well - the guide to slide-out seal failures explains how these two systems interact in water intrusion events.
Photograph Every Inspection
Take dated photos of all seams, penetrations, and any areas of concern during each inspection. This creates a visual record that makes it easy to spot whether a crack or soft spot has grown since the last check. It also provides useful documentation if warranty or insurance questions arise.
Routine Care: Cleaning, Sealing, and Storage Considerations
Cleaning your roof two to four times per year removes the biological growth, tree sap, and oxidation that degrade surface materials over time. Always use cleaners rated for your specific roof type, and rinse thoroughly. After cleaning is the ideal moment to inspect the surface while it's clear of debris.
Sealant maintenance is where most owners fall behind. Sealant doesn't last forever - UV exposure, thermal cycling, and vibration from travel all cause it to harden and crack. Inspect all sealed areas carefully and reapply wherever the existing sealant shows any sign of failure. The complete guide to RV sealing and caulking walks through this process in full detail.
When storing the rig, a breathable cover or covered storage facility reduces UV and weather exposure significantly. However, non-breathable covers can trap moisture underneath - a different problem. The long-term RV storage guide examines these trade-offs in depth.
“The roof is the RV's first line of defense. Everything else in the rig depends on that barrier staying intact - once water finds a path, it rarely stays where it enters.”
— RVs & Campers Editorial Team, Vehicle Maintenance Analysts
This article provides general educational information about RV roof maintenance. Always consult your RV's manufacturer documentation and, for significant repairs or suspected structural damage, seek the assessment of a qualified RV service technician.