Why Accessories Define the Daily Commute Experience
Most cyclists who struggle with long commutes aren't riding the wrong bike - they're riding the right bike with the wrong setup. A 45-minute commute feels very different depending on whether you're perched on a saddle that suits your anatomy, or hunched over handlebars with numb hands and a backpack dragging your shoulders backward.
The accessories covered here aren't luxury upgrades. They're practical interventions that address the friction points that cause commuters to give up or dread the ride. Each one shifts the experience in a measurable, day-to-day way - not in marketing copy, but in how your body feels when you lock up the bike and walk through the door.
For context on how accessories compare to more permanent modifications, this breakdown of add-ons versus modifications is a useful reference regardless of vehicle type.
A saddle matched to your anatomy
No accessory has a bigger impact on commute comfort than the saddle. Sit bone width varies significantly between riders, and a saddle that's too narrow or too wide creates pressure points that compound over distance. Most specialist bike shops offer a basic sit bone measurement service, and many carry demo saddles worth testing before committing.
Padding level is counterintuitive: more cushioning isn't always better on longer rides. Excessive foam compresses and shifts under load, creating pressure rather than relieving it. A firmer saddle with correct width often outperforms a plush one on commutes over 30 minutes.
Correct saddle width matters more than cushioning thickness on any commute over 30 minutes.
Ergonomic grips or quality bar tape
Hand fatigue and tingling are common complaints among commuters, particularly on flat bars. Ergonomic grips with a palm rest redistribute weight across the hand rather than concentrating it on the ulnar nerve - the nerve most commonly compressed during cycling. On drop bars, bar tape thickness and material both affect vibration dampening and grip security in wet conditions.
Grips and tape are low-cost relative to the discomfort they prevent. If you're currently riding stock grips on a commuter bike, this is one of the more immediate changes worth making.
Ergonomic grips redistribute palm pressure and can eliminate the hand numbness common on flat-bar commuters.
Full-coverage mudguards
Clip-on or bolt-on mudguards that provide full-length coverage front and rear make wet-weather commuting genuinely viable. Without them, a single puddle or light rain leaves a stripe of road grime up your back and soaks the drivetrain in road spray, accelerating chain and cassette wear.
The practical difference between a partial fender and a full-length mudguard is significant - the mudguard needs to extend far enough forward and downward to intercept water before it reaches you or the frame. Fit matters as much as the product itself.
Full-length mudguards are the difference between arriving presentable and arriving soaked from wheel spray.
A rack-and-pannier or frame bag system
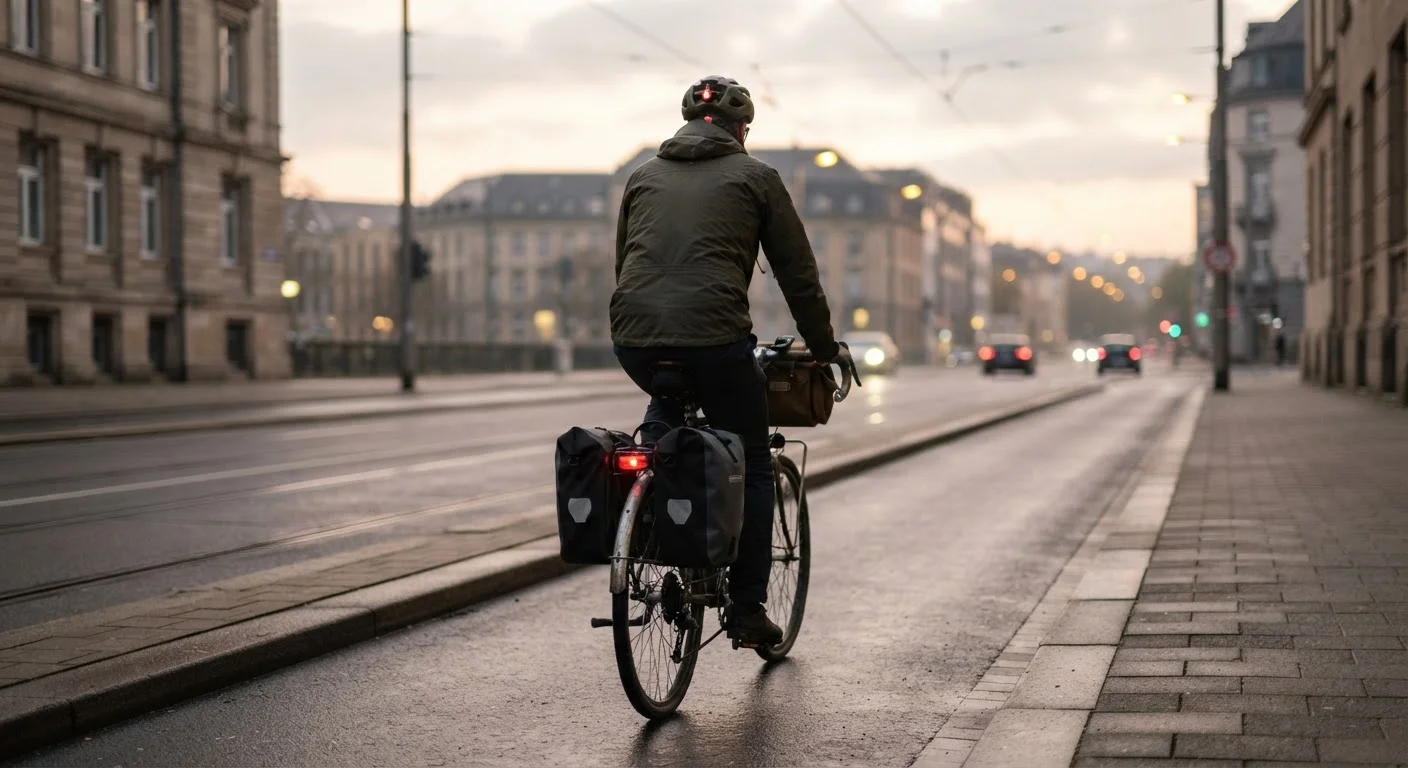
Carrying load on your back raises your center of gravity, increases sweat on your back, and places sustained tension on your shoulders and neck. A rear rack with panniers transfers that weight to the bike, improving handling and reducing physical fatigue - particularly relevant on commutes over 20 minutes with any meaningful cargo.
Frame bags offer a lower center of gravity and work well on bikes without rack mounts, though capacity is more limited. The right choice depends on your bike's geometry and the volume you carry daily. Road trip essentials gear principles apply here too - distribute weight low and evenly where possible.
Transferring load from your back to the bike reduces sweat, fatigue, and shoulder strain on longer commutes.
Front and rear lighting
Beyond legal requirements - which vary by state and jurisdiction - adequate lighting affects how other road users perceive and respond to you. A rear light visible at 200 meters in daylight conditions provides meaningful safety margin in overcast or low-light situations, not just after dark.
Rechargeable USB lights have largely addressed the inconvenience of battery replacement. The more relevant variable is mount security and beam pattern - a light that rattles loose or aims at the sky instead of the road surface isn't doing its job regardless of rated lumens.
Lighting that's easy to charge and secure to your bike is the only lighting you'll actually use every day.
A reliable, appropriately sized lock
A lock that's too heavy to carry becomes a lock left at home. A lock that's too light offers minimal deterrent. The practical trade-off involves assessing where you lock up - a monitored, covered bike parking area warrants a different calculation than a public street rack in a high-theft area.
D-locks (also called U-locks) and folding locks generally outperform cable locks in cut resistance. Carrying two lock types - one for the frame, one for a wheel - adds time at either end of the commute but meaningfully raises the barrier for opportunistic theft.
A lock you won't carry is a lock that won't protect your bike - weight and usability are part of the security calculation.
Building a Setup That Actually Lasts
The most effective commuter setups share one trait: every component earns its place through regular use. Avoid the temptation to add accessories speculatively. A rack-mounted pannier system is more useful than a top tube bag if you carry a laptop; a lightweight saddle bag may serve you better if your load is minimal.
Test Before You Commit
Many bike shops allow saddle demos or grip trials before purchase. If yours doesn't, ask - even a single long test ride on a different setup can confirm whether a change is worth making. Accessories that feel marginal in the shop can make a material difference across a 200-mile commuting month.
If you're thinking about extending these principles to longer tours, packing a bikepacking kit and getting started with cycle touring both offer complementary guidance on load management and gear selection at scale. The logic is the same - start with what solves the real problem, and build from there.