Why a Structured Pre-Trip Inspection Matters
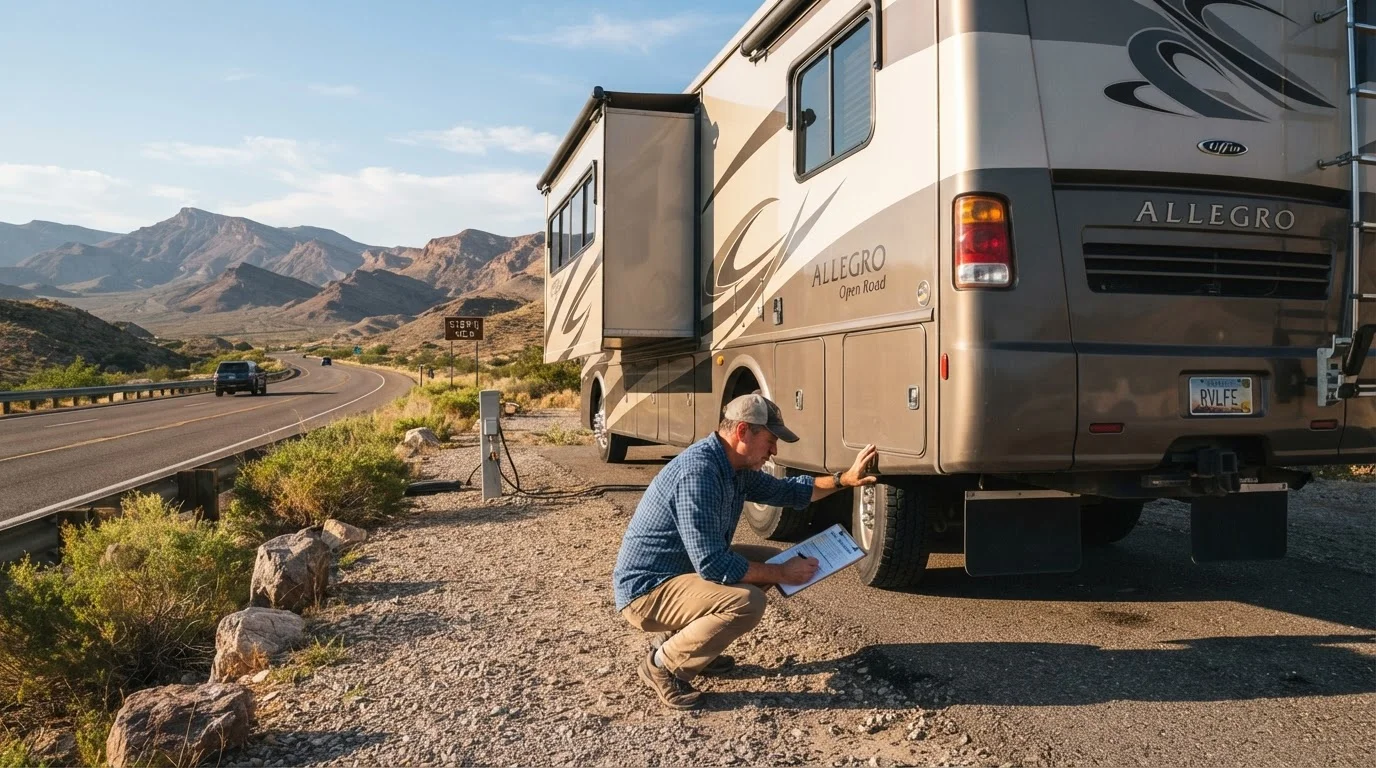
Most RV breakdowns are predictable. Tyres driven on marginal pressure, LP connections left slightly loose after a campsite swap, or a slide-out not fully retracted before departure - these are the failures that strand rigs on the shoulder. A methodical pre-trip inspection takes under an hour and addresses the leading causes of on-road trouble before you pull out of the driveway.
This checklist is organised by system so you can work through the rig efficiently rather than backtracking. If you're preparing for a longer season, pair this with the seasonal vehicle maintenance checklist to cover deeper mechanical upkeep that goes beyond trip-by-trip verification.
LP Gas Checks Require Care
Propane connections should be checked carefully and methodically. If you detect any sulphur or rotten-egg odour inside the coach, do not use electrical switches - exit immediately, leave the door open, and contact a certified RV service technician. Never attempt to locate a gas leak using an open flame.
Don't Skip Checks on Short Trips
Systems like tyres and LP connections degrade between uses regardless of how long the rig sat. A two-night trip carries the same pre-departure risk profile as a two-week journey - run the full checklist every time.
For tasks involving LP gas system integrity - particularly checking regulator condition, flexible hose wear, or connection tightness beyond hand-snug - consult a certified RV technician if you have any doubt. Gas leaks in an enclosed coach are a serious safety hazard.
Tools and Resources to Have Ready
You don't need a full shop setup, but having the right tools on hand prevents you from skipping checks because you lack the means to do them properly.
Tyre Pressure Gauge
Accurately measure inflation across all tyres, including the spare, against placard specifications.
Torque Wrench
Verify lug nut torque to spec, especially after any recent tyre or wheel service.
LP Gas Leak Detector Spray or Electronic Sniffer
Identify propane leaks at connections and fittings that might not be detectable by smell alone.
Multimeter or Battery Monitor
Check house battery state of charge and identify any abnormal voltage readings before departure.
Portable Step Stool or Ladder
Safely inspect rooftop components and high exterior access points during the walk-around.
Printed or Digital Inspection Checklist
Ensure no step is skipped by working from a physical or app-based list rather than relying on memory.
The Full Pre-Trip Checklist
Work through each group in sequence. The exterior walk-around comes first because it catches obvious deployment issues - jacks, slides, and awnings - before you move into system-level checks.
Exterior Walk-Around
Tyres and Wheels
Lights and Electrical
LP Gas and Propane System
Water Systems
Safety Equipment
Active Warning Lights Are Not Optional
Any dashboard warning light that is illuminated when you start the engine should be understood and resolved before driving. Ignoring a check-engine or brake system warning and planning to investigate later is not an acceptable approach in a vehicle this large and heavy. If the fault cannot be identified, have the rig inspected by a qualified technician before departure.
If any warning light is active when you start the engine, do not dismiss it and plan to investigate later. Resolve or understand the cause before driving. See our guide on reading dashboard warning lights for a breakdown of common symbols and what action each requires.
After the Inspection: Before You Depart
Once you've cleared all checklist groups, do a final seated check inside the cab: mirrors adjusted, seatbelts functional, GPS or route loaded, and fuel level confirmed. If you're towing a vehicle or trailer, verify hitch pin, safety chains, and trailer brake controller response.
When you arrive at your destination, a separate set of setup tasks applies. The RV arrival checklist walks through everything to verify and configure each time you pull into a new campsite. And if something does go wrong en route, it's worth knowing exactly what your roadside assistance plan will and won't cover - our overview of what roadside assistance actually covers explains the typical gaps before you rely on it.
A pre-trip inspection isn't a guarantee of a trouble-free trip, but it meaningfully reduces the probability of avoidable failures. Run it every time - even for short overnight trips - because systems degrade between uses regardless of trip length.