Three Core Formats and What They're Designed to Do
Auxiliary lighting for trucks and SUVs falls into three primary categories: light bars, pod lights, and single-source auxiliary lamps. Understanding what each is engineered to do prevents buying the wrong format for your actual use case.
Light bars are elongated multi-LED housings available in sizes ranging from roughly 6 inches to 50 inches across. Their length allows manufacturers to combine spot and flood LEDs in a single unit, producing a wide, layered beam pattern well-suited to open terrain. They're the most visible format - visually dominant on a roof rack or bull bar - but also the format most regulated for on-road use.
Pod lights are compact, self-contained units typically housing between two and twelve LEDs. Their small footprint makes them easy to position almost anywhere: bumper brackets, A-pillars, rock sliders, or bed-mounted roll bars. A single vehicle might run four to six pods arranged to cover different angles simultaneously.
Single auxiliary lamps - round or rectangular sealed-beam or projector units - are the oldest category and still common in work-truck applications. They're straightforward to aim and replace, and many mount directly to standard light brackets.
For a broader look at how lighting fits into the larger picture of off-road-ready truck builds, see what shapes off-road capability in trucks and SUVs.
Beam Patterns: Matching Output to Environment
Lumen ratings get the most attention in marketing, but beam pattern determines how useful a light actually is in a specific environment. The three standard patterns each have a distinct role.
- Spot beam: Narrow cone, typically 10-30 degrees. Projects light farthest but illuminates little width. Useful for high-speed open driving where seeing obstacles at distance is the priority.
- Flood beam: Wide cone, typically 60-120 degrees. Illuminates terrain close to the vehicle across a broad horizontal angle. Useful for slow trail driving, campsite work, and recovery situations.
- Combo beam: A single housing containing both spot and flood LEDs. Practical as a compromise but worth inspecting: some combo units sacrifice output quality in both patterns to hit a lower price point.
Test Beam Pattern Before Finalising Mount Position
Before permanently mounting any auxiliary light, temporarily position it at the intended height and test the beam pattern against the terrain you actually drive. A spot beam that looks impressive in a parking lot may wash out on a tight, tree-lined trail where wide flood coverage would serve far better. Beam pattern decisions are harder to undo after drilling mounting holes.
A common mistake is selecting the highest-lumen flood light available and mounting it on the roof - only to find it blinds the driver with reflected glare off dust or fog. Matching pattern and mounting height to terrain type prevents this.
Contrast this with the nuanced spec-reading required for bicycle lighting safety standards - the same principle of understanding what specs actually measure applies across both contexts.
Mounting Position: Trade-offs That Are Easy to Overlook
Where a light sits on the vehicle changes its effective utility, its vulnerability to damage, and in many cases its legality.
~60°-120°
Typical flood beam spread angle
Most flood-pattern auxiliary lights advertise beam angles in this range, compared to 10-30 degrees for spot beams, according to common manufacturer specifications.
50+ states
All U.S. states regulate auxiliary lighting
Every U.S. state has vehicle code provisions governing auxiliary lighting placement, color, and on-road use - with enforcement details varying considerably by jurisdiction.
6"-50"
Common light bar size range
Consumer-grade LED light bars span a wide size range, with larger units typically combining more LEDs and drawing more amperage from the vehicle's electrical system.
Bumper and grille mounts place lights at or near headlight height, which minimizes forward glare from dust, rain, or snow. The trade-off is exposure - bumper-mounted lights take debris impacts in off-road environments and may require skid plates or brush guards to protect the housing.
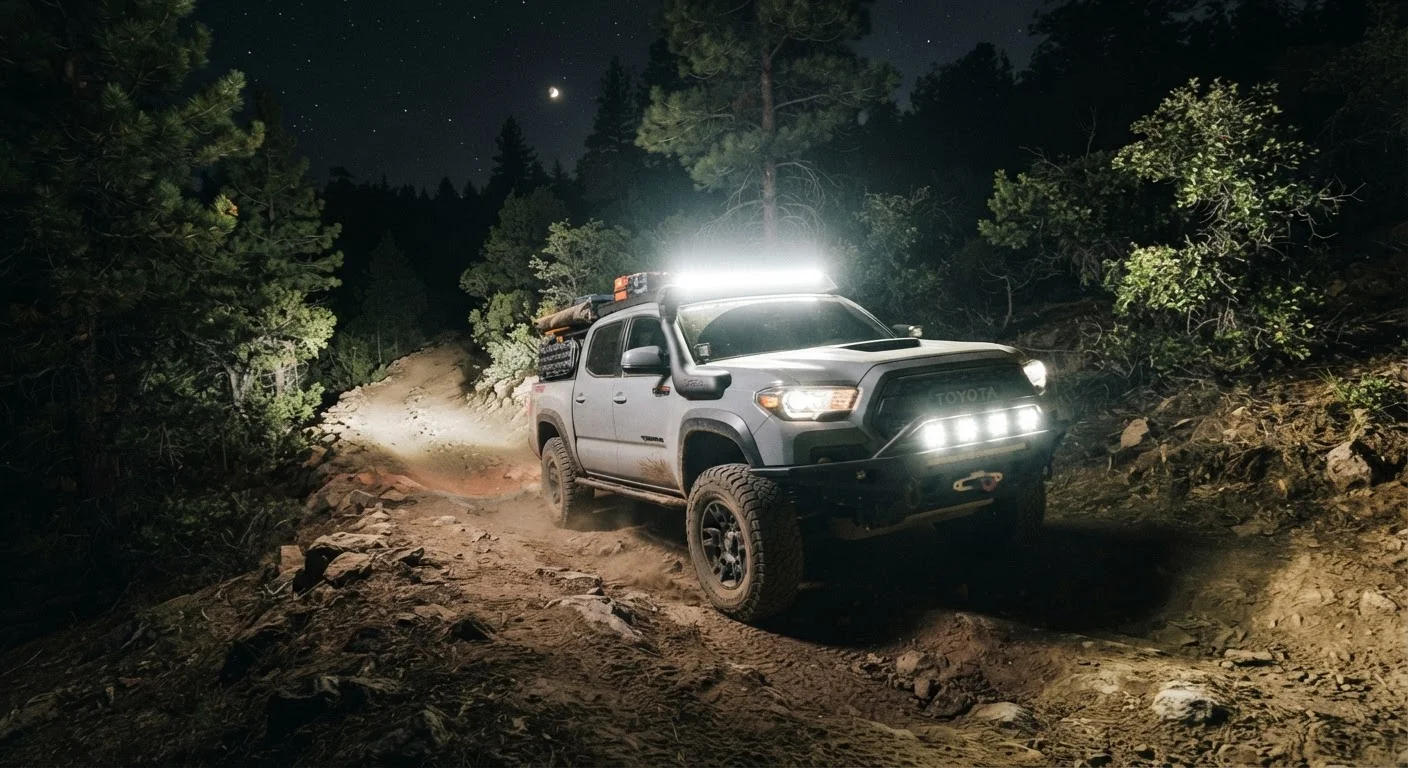
Roof mounts maximize range and width of illumination by raising the light source above ground-level obstacles. They're the most effective mounting position for open-terrain driving, but roof-mounted lights used on public roads fall under state auxiliary lighting regulations that vary considerably. In several states, they must be covered or switched off entirely when on paved roads.
A-pillar mounts offer a practical middle ground - elevated enough to extend range, low enough to avoid many legal restrictions, and positioned to illuminate the corners ahead of the vehicle rather than straight ahead. They're common on dedicated trail rigs.
If you're evaluating lighting as part of a broader accessory build, the accessories that genuinely change daily driving article covers how to evaluate which upgrades earn their cost in everyday utility.
On-Road Legality Varies Significantly by State
Many U.S. states distinguish between having auxiliary lights installed and being permitted to use them on public roads. Roof-mounted light bars are among the most commonly restricted, with some states requiring they be covered or switched off whenever the vehicle is on a paved road. Review your state's vehicle code - or consult a local authority - before driving on public roads with any auxiliary lighting active.
Wiring and Installation: Where Most Problems Actually Start
The fixture itself is only part of the system. Wiring quality and installation method account for a disproportionate share of auxiliary lighting failures.
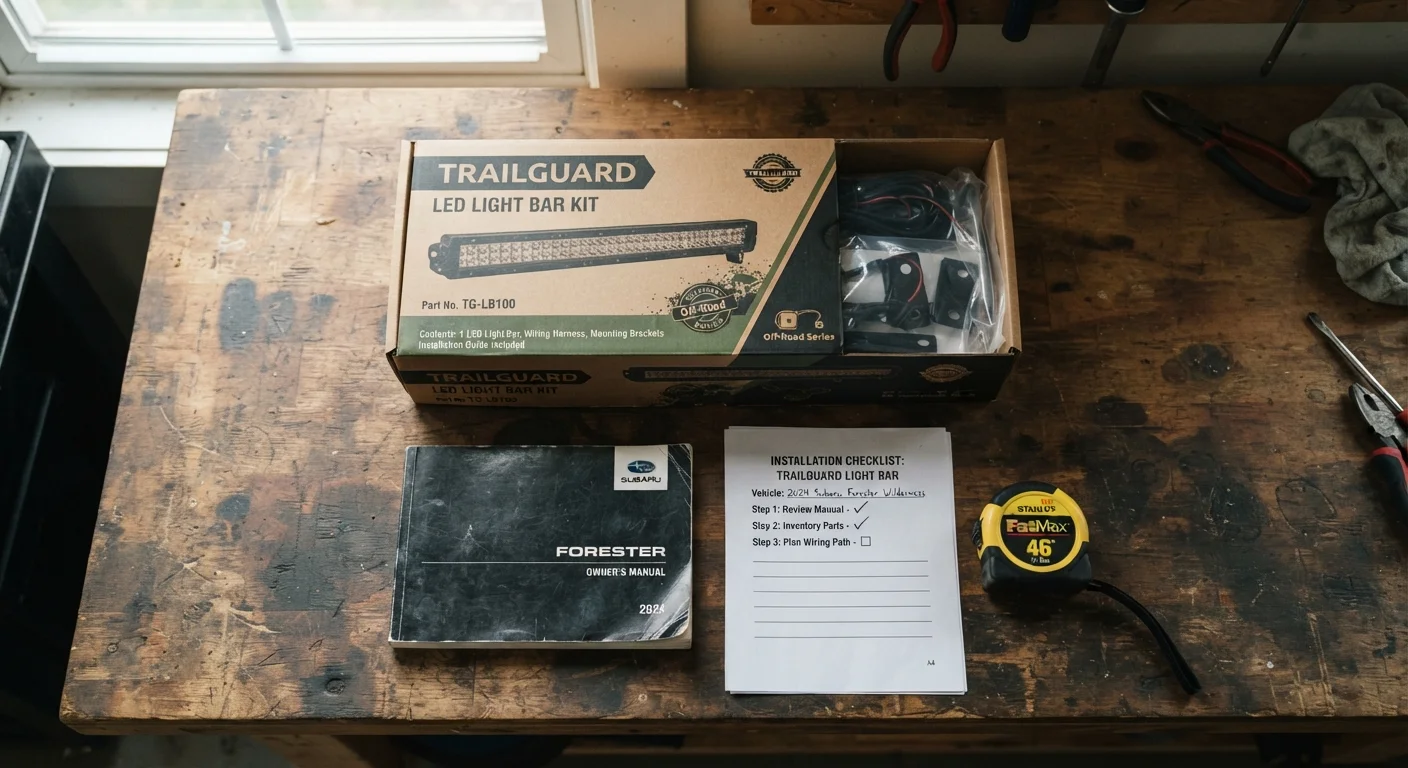
A proper install uses a relay harness to route power directly from the battery through a fused circuit, with the switch in the cab triggering the relay rather than carrying the full current load. Skipping the relay and wiring lights directly through an undersized switch is a common shortcut that causes overheating, switch failure, and in worst cases, wiring fires.
Weatherproofing matters as much as the wiring gauge. Deutsch connectors or heat-shrink butt connectors resist moisture better than standard crimp connectors in exposed underhood or undercarriage runs. Securing the harness away from exhaust components and sharp edges is basic practice that's easy to overlook during a rushed install.
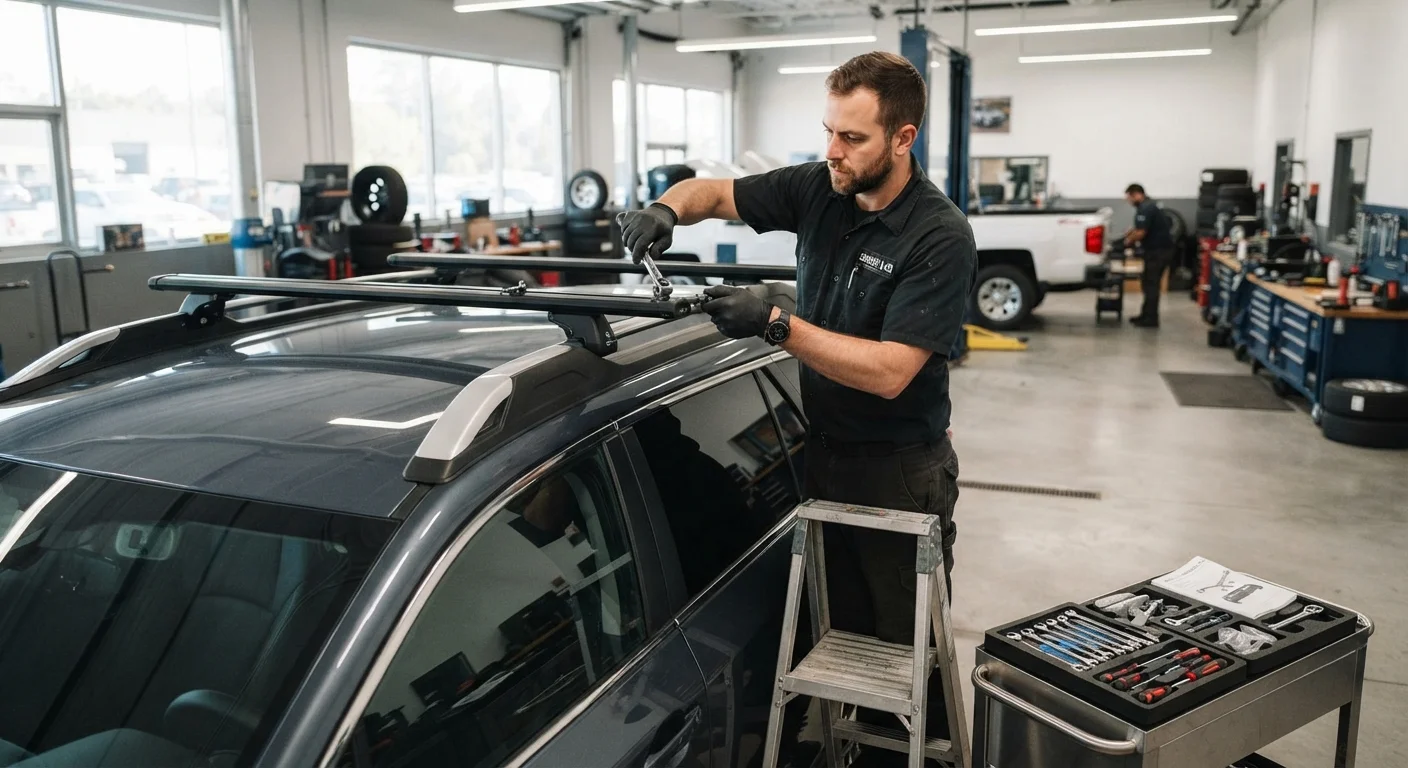
If you're not confident working with automotive electrical systems, this is a reasonable task to hand to a qualified installer. The cost of a professional wiring job is modest relative to the cost of diagnosing an intermittent electrical fault months later.
For those building out a full utility truck setup, upgrading your truck's towing setup covers similarly electrical-adjacent accessories that reward careful installation.
“The most common auxiliary lighting mistake isn't choosing the wrong lumen count - it's choosing the wrong beam pattern for the terrain and then mounting it in the wrong position.”
— Gear & Accessories Editorial Team, Automotive accessories and truck equipment writers
This article is for informational purposes only. Check all applicable federal, state, and local regulations before using auxiliary lighting on public roads. For complex electrical installations, consult a qualified automotive technician.