When Enthusiasm Outpaces Experience
Every home mechanic starts somewhere. The problem isn't the willingness to learn - it's choosing jobs that quietly exceed your current skill level and toolset. A repair that looks straightforward in a video can unravel fast when the actual hardware is corroded, the tolerances are tighter than expected, or a single mistake takes a safe vehicle off the road.
Understanding the real costs and limits of home repairs is step one. The jobs below aren't listed because they're impossible for a home mechanic - many experienced DIYers handle them routinely. They're listed because they're the ones where inexperience most frequently creates bigger problems than it solves. For each, there's a more appropriate starting point that builds toward them.
Start With a Service Manual, Not a Video
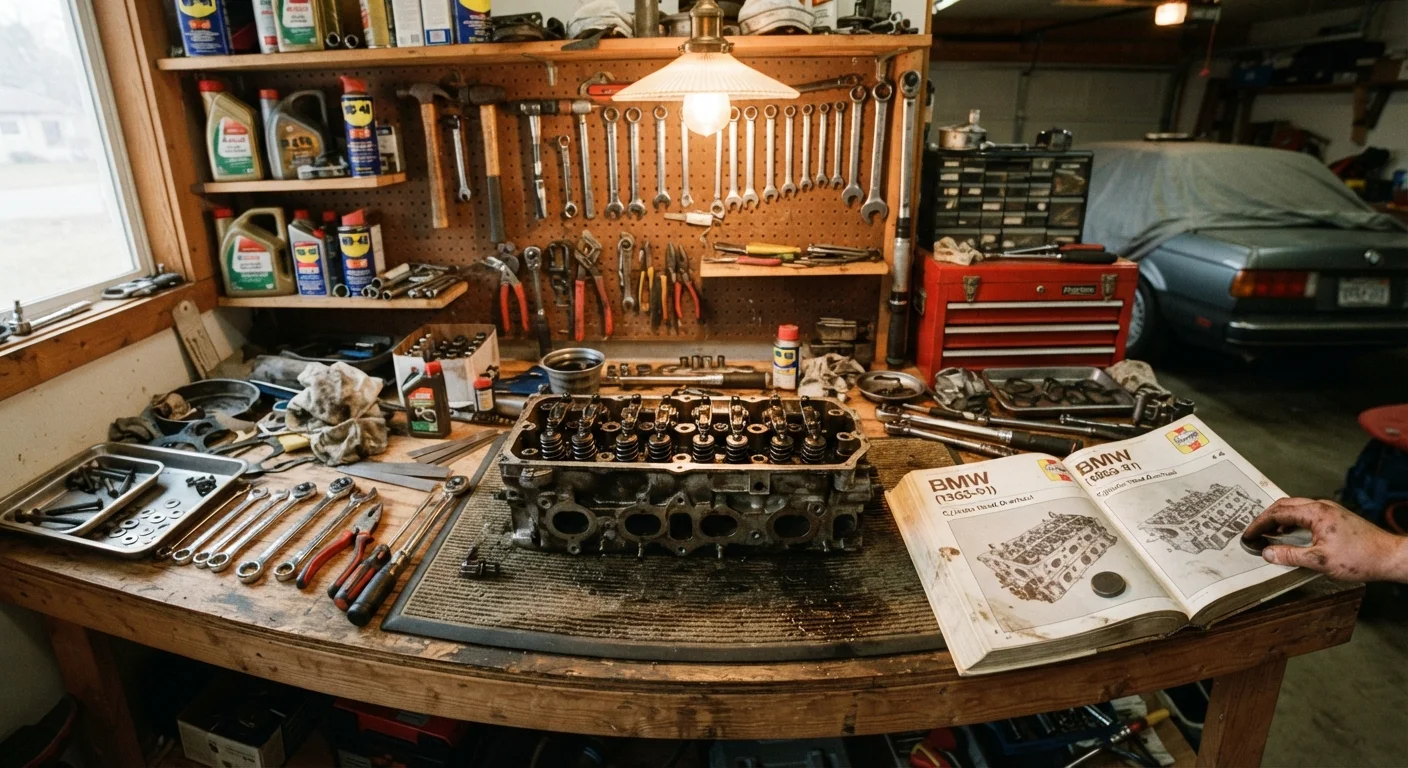
Video tutorials are useful for visualizing a procedure, but they rarely cover your specific vehicle's torque specs, fluid types, or known model-year variations. Before starting any repair, obtain the factory service manual or a trusted OEM-equivalent repair guide for your exact make, model, and engine. This single habit prevents the majority of DIY errors.
Jobs to Approach Only After Building Your Foundation
Brake Caliper and Rotor Replacement
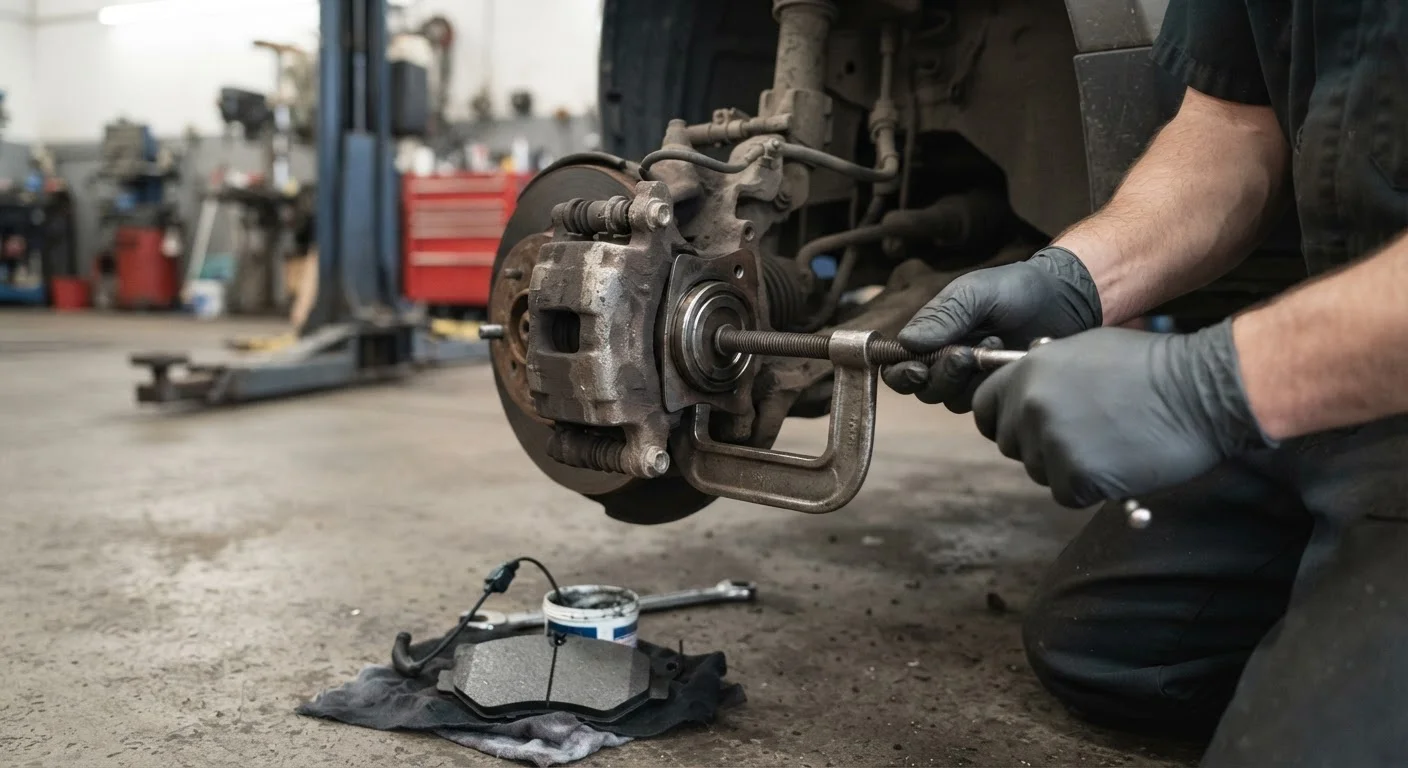
Brake pad swaps are a reasonable beginner job with proper preparation. Calipers and rotors are a different matter. Seized caliper slides, uneven rotor wear patterns, and brake hose condition all need to be assessed correctly - and any error in reassembly directly affects stopping distance. Many first-timers start this job only to find a frozen caliper bolt or a rotor that won't release without a puller they don't own.
Better starting point: Complete several brake pad replacements first. Read the safety framing every home mechanic needs before swapping brake pads, and only progress to calipers once you understand how the hydraulic system behaves under compression.
Any error in brake reassembly directly affects stopping distance - there's no margin for guesswork.
Timing Belt or Chain Service
Timing service is one of the most consequential jobs on an engine. On interference engines - which include most modern designs - misaligning the timing marks by even a tooth can cause piston-to-valve contact the moment the engine turns over, resulting in severe internal damage. The job also requires engine-specific timing tools, precise torque sequences, and often the removal of significant surrounding components to access the belt.
Better starting point: Build comfort with serpentine belt replacement and accessory drive components first. These teach tensioner behavior and belt routing without the catastrophic failure risk of a timing error.
Misaligning timing marks by a single tooth can destroy an interference engine on the first crank.
Fuel Injector Removal and Cleaning
Fuel systems operate under significant pressure - commonly 40-60 psi on port-injected engines, and considerably higher on direct-injection systems. Improper depressurization before opening any fuel line creates a genuine fire and injury hazard. Beyond safety, injector O-rings must be replaced correctly to prevent leaks at reinstallation, and reassembly requires knowing the correct torque specs for fuel rail fittings specific to your engine.
Better starting point: Fuel filter replacement (on vehicles with an accessible, serviceable external filter) teaches fuel line handling and depressurization procedures in a lower-stakes environment before moving to injectors.
Opening a fuel line without properly depressurizing the system first is a real fire hazard.
Strut and Shock Absorber Replacement
Replacing shocks themselves is manageable for an intermediate DIYer. The mistake comes when enthusiasts attempt to compress and disassemble a strut assembly without a proper spring compressor. A coil spring under compression stores enormous energy - releasing it uncontrolled is a documented cause of serious injury. Beyond safety, suspension geometry must be confirmed correct after any strut work, typically requiring a professional alignment.
Better starting point: Rear shock replacement on vehicles where the shock is separate from the spring teaches removal and torque procedures without the spring compression risk. Budget for a post-job alignment regardless.
A coil spring under load stores enough energy to cause serious injury if released uncontrolled.
Electrical System Diagnostics and Wiring Repairs
Modern vehicles carry multiple overlapping control networks - CAN bus, LIN bus, and body control modules that interact in ways a basic multimeter won't reveal. DIYers often attempt to trace intermittent faults or splice wiring without understanding circuit topology, causing short circuits, tripped fuses in secondary systems, or - in worst cases - damage to expensive control modules. Accessory installs that involve tapping into existing wiring carry similar risks; poor wiring decisions during accessory installs are among the most common sources of electrical gremlins.
Better starting point: Learn to use a digital multimeter for basic voltage, continuity, and resistance checks. Start with straightforward circuits like lighting and fuses before approaching anything connected to engine management or safety systems.
Splicing into the wrong wire can corrupt a control module that costs more to replace than any shop visit.
When to Stop and Call a Professional
If you encounter unexpected damage mid-repair - corrosion, cracked components, or fasteners that have rounded off - stopping and consulting a mechanic is the right call, not a failure. Continuing past an unknown variable in a safety-critical system is where minor repairs become expensive ones. A shop assessment at that point is almost always cheaper than the alternative.
Build Skills in Order, Not Just Enthusiasm
None of the repairs above are off-limits forever. They're off-limits until you've developed the diagnostic habits, toolset, and hands-on confidence that come from completing simpler jobs correctly. The classic progression - oil changes, air filters, battery swaps, then brake pads, then more complex systems - exists because each task teaches something the next one depends on.
For those working on older or specialty vehicles, the stakes can be even higher. Hidden costs in classic restoration often trace directly back to repair attempts that escalated beyond the owner's readiness. Likewise, knowing the line in RV repair follows the same logic: some systems reward confident DIY work; others genuinely require a certified technician.
When you're unsure whether a job is within your current range, consult your vehicle's factory service manual, check component-level guides to understand what you're working with, and err toward getting a professional assessment before starting - not after something goes wrong.
This article is for general informational purposes only. Repair procedures vary by vehicle make, model, and condition. Always consult your vehicle's service manual and, when in doubt, a qualified mechanic before undertaking any repair that could affect vehicle safety or driveability.