Why Oil Changes Matter and What Goes Wrong Without Them
Motor oil does three jobs simultaneously: it lubricates moving metal parts, carries heat away from the engine, and suspends combustion byproducts so they can be filtered out. Over time, the oil's base stock breaks down and its additive package - which includes detergents, dispersants, and anti-wear agents - gets depleted. The result is thicker, dirtier oil that does all three jobs poorly.
Neglected oil leads to accelerated wear on cam lobes, bearings, and cylinder walls. In severe cases, sludge can block oil passages entirely, causing localized oil starvation. None of this is catastrophic on day one - it's cumulative damage that shortens engine life significantly. A consistent oil change schedule is the single highest-return maintenance habit you can build. See the common maintenance myths guide for a clear-eyed look at how often you actually need to change it.
What You'll Need Before You Start
Showing up prepared is half the job. Consult your owner's manual for three critical specs: oil viscosity (e.g., 5W-30), total oil capacity (typically 4-6 quarts for most passenger cars), and the oil filter part number. Do not guess on any of these.
Oil viscosity
A measure of how thick or thin the oil is, and how that thickness changes with temperature. Expressed as a two-number code like 5W-30, where the first number describes cold-weather flow and the second describes behavior at operating temperature.
Drain plug
A threaded bolt at the bottom of the oil pan that, when removed, allows old oil to drain out of the engine. It is reinstalled and sealed before new oil is added.
Oil filter
A canister containing filter media that traps contaminants - metal particles, soot, and debris - as oil circulates through the engine. It must be replaced at every oil change.
Jack stands
Rigid metal stands placed under a vehicle's frame or pinch welds after it is raised by a jack. They hold the vehicle safely in the air while you work - a floor jack alone is not a safe substitute.
Dipstick
A long metal rod that extends into the oil pan. Pulling it out and reading the oil film on its tip tells you the current oil level in the engine.
Crush washer
A soft metal ring - often aluminum or copper - that sits between the drain plug and oil pan. It compresses slightly when tightened to create an oil-tight seal, and should be inspected or replaced at each oil change.
Gather the following before you get under the car:
- Fresh oil in the correct viscosity and quantity
- New oil filter matching your vehicle's spec
- Drain pan large enough to hold more than your engine's capacity
- Socket wrench and correct drain plug socket (commonly 14mm-17mm)
- Oil filter wrench (cup-style or strap-style, matched to your filter size)
- Vehicle jack and jack stands rated for your vehicle's weight - never work under a car supported only by a floor jack
- Wheel chocks, nitrile gloves, and shop rags
- Sealed container for used oil transport to a recycling drop-off
This job is part of a broader DIY skill set. The complete DIY vehicle maintenance guide covers workspace setup and tool selection in depth.
The Drain: Removing Old Oil Safely
Park on a level surface, chock the rear wheels, and run the engine for two to three minutes to warm the oil slightly - warm oil flows and drains more completely. Shut the engine off and wait at least five minutes before crawling underneath.
Never Work Under a Jack-Supported Vehicle
A floor jack is for lifting only - it is not a safety device. A vehicle that slips off a jack can cause fatal crushing injuries. Always transfer the load to rated jack stands before getting underneath. Double-check that each stand is seated on a manufacturer-specified lift point, and give the vehicle a gentle shake before sliding under it.
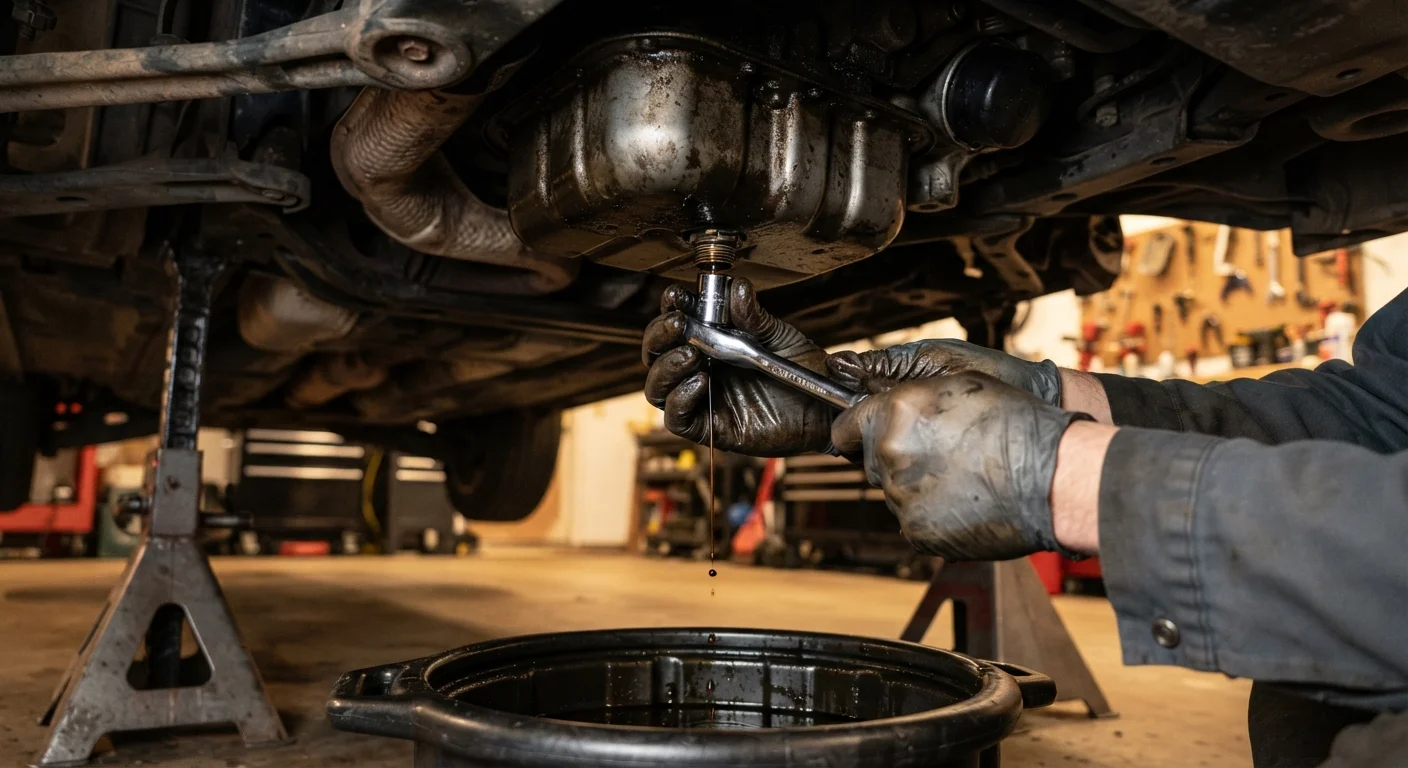
Raise the vehicle with your jack, then lower it securely onto jack stands positioned at the manufacturer's specified lift points (shown in your owner's manual). Never rely on the jack alone.
Position your drain pan directly under the drain plug - typically at the lowest point of the oil pan. Using the correct socket, loosen the plug counterclockwise. As it nears the end of its threads, control it with your fingers and pull it free cleanly, directing the oil stream into the pan. The oil will flow fast initially, then slow to a trickle over five to eight minutes. Inspect the drain plug's crush washer or gasket; replace it if it's deformed or damaged. Reinstall the plug by hand first, then snug it with a torque wrench to the spec listed in your manual - overtightening strips threads in the aluminum oil pan.
The Filter Swap: Why It's Not Optional
The oil filter traps metallic particles, carbon deposits, and other contaminants. After thousands of miles, its media is saturated - putting fresh oil through a spent filter means those contaminants circulate right back through the engine. Always replace the filter with every oil change, without exception.
Position your drain pan under the filter before removing it - filters hold residual oil. Use your filter wrench to break it loose counterclockwise, then spin it off by hand. Before installing the new filter, dip your finger in fresh oil and coat the new filter's rubber gasket ring. This ensures a proper seal and makes removal easier at the next service. Hand-tighten the new filter until the gasket contacts the mounting surface, then turn it an additional three-quarter turn - no more. Overtightening can deform the gasket and cause leaks; under-tightening causes the same. Most filter manufacturers print this instruction directly on the filter canister.
For a deeper look at how oil type affects filter performance intervals, see our synthetic vs. conventional oil guide.
Mark the Filter Before You Torque It
After hand-tightening the new filter until the gasket seats, use a paint pen or marker to draw a line across the filter canister and onto the engine block. This gives you a visual reference to confirm you've completed the recommended three-quarter turn and makes it immediately obvious if the filter has backed off at all.
Refilling and Checking Your Work
Lower the vehicle from the jack stands. Remove the oil filler cap on top of the engine and add roughly one quart less than your engine's total capacity first - it's easier to add than to remove. Replace the cap, start the engine, and let it idle for 30 seconds. You should see the oil pressure warning light extinguish within a few seconds of startup. Shut the engine off and wait two minutes for oil to drain back to the pan.
Pull the dipstick, wipe it clean, reinsert it fully, and pull it again. The oil level should fall between the low and full marks. Add oil in small increments - a quarter quart at a time - until you reach the full mark. Do a final walk-around under the car to confirm no oil is dripping from the drain plug or filter. Reset your vehicle's oil life monitor if equipped, and log the date and mileage in a maintenance record.
Used oil goes into your sealed container for drop-off - never down a drain or in household trash. Most auto parts retailers accept it at no charge. If you're planning a longer drive soon after this service, our first solo road trip guide walks through additional vehicle checks worth doing before you hit the highway.