Setting Up a Safe, Functional Workspace
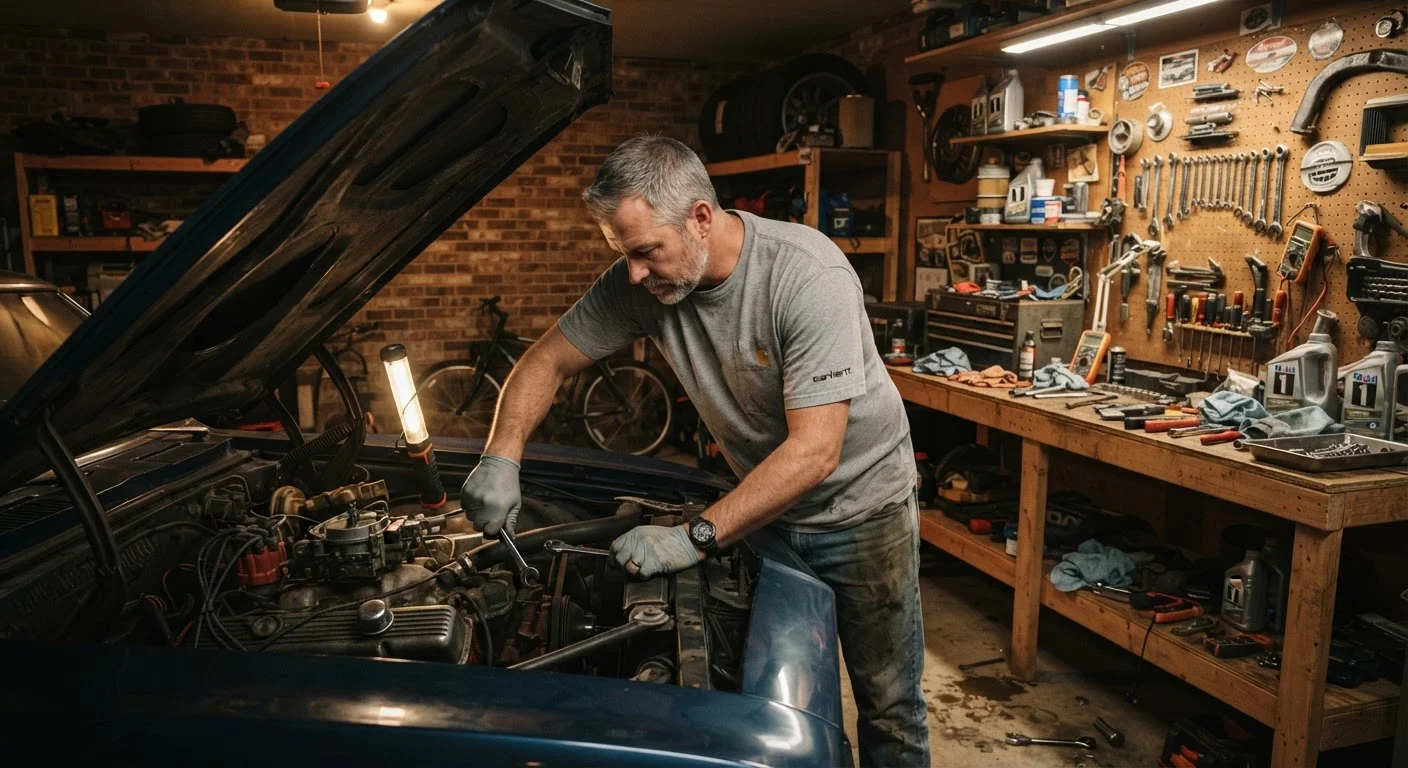
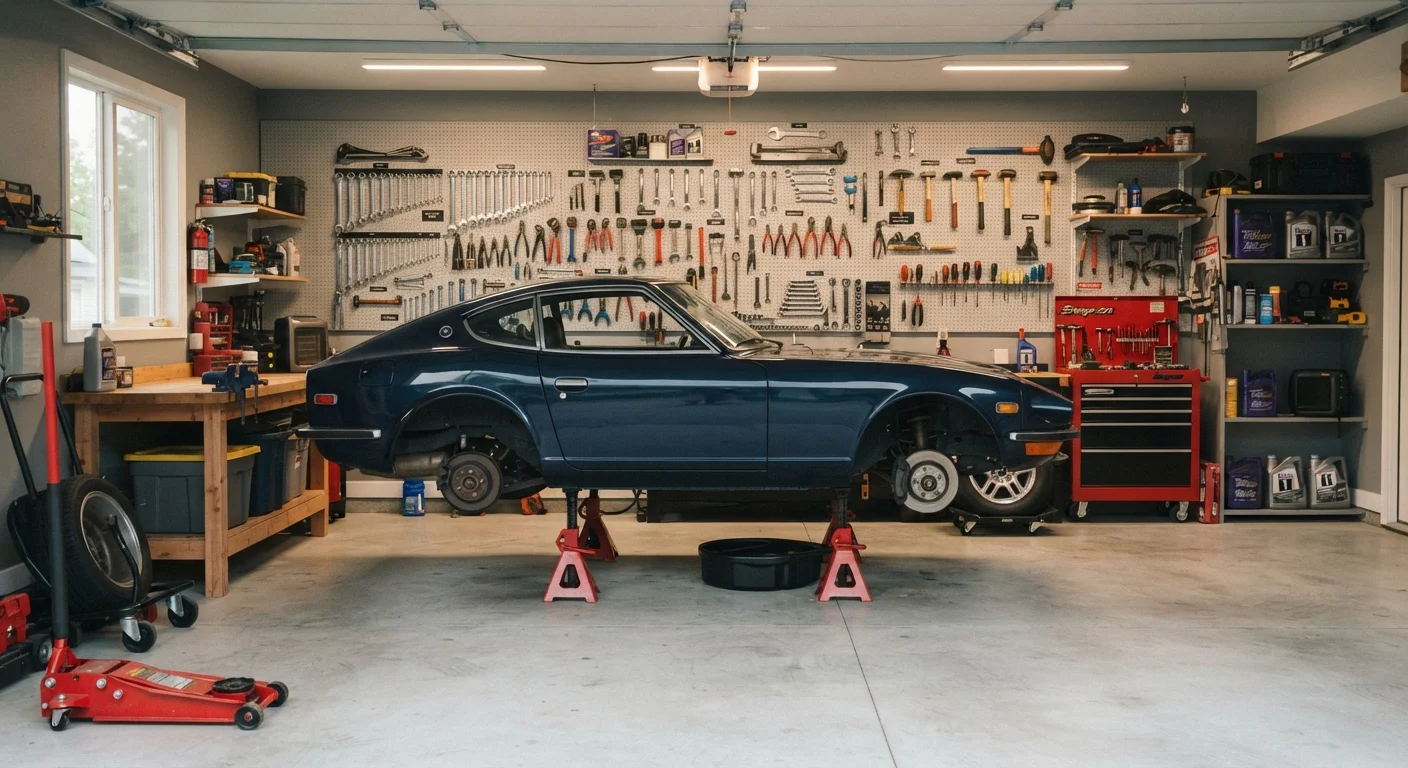
Before touching a wrench, your environment determines whether a job goes smoothly or dangerously sideways. A minimum viable DIY workspace needs three things: adequate lighting, a level surface, and enough clearance to work safely around the vehicle.
If you're working indoors, ensure ventilation for exhaust fumes and chemical vapors - a cracked door isn't sufficient for running an engine. Carbon monoxide accumulates quickly in enclosed spaces. Outdoors on a driveway works for most fluid and filter jobs, but avoid sloped surfaces when lifting the vehicle.
Invest in a quality hydraulic floor jack rated for your vehicle's curb weight, and always use jack stands rated to match - never rely on a jack alone to support a vehicle you're working beneath. Wheel chocks on the opposite axle add a critical secondary safeguard.
Download Your Factory Service Manual
Many OEMs make factory service manuals available through their owner portals, and many libraries provide free access to professional repair databases like ALLDATA or Mitchell1. These sources carry OEM torque specs, fluid types, and step-by-step procedures that generic guides often get wrong.
For those tackling more ambitious projects, see our classic vehicle restoration guide for workspace and safety considerations that scale up to full restorations.
Essential Tools Every Home Mechanic Needs
You don't need a professional's rolling tool chest to handle most maintenance. A focused starter set covers the majority of jobs:
- Socket set (metric and SAE, 3/8" and 1/2" drive) with a breaker bar for stubborn fasteners
- Combination wrenches in common sizes
- Screwdriver set including Phillips, flathead, and Torx
- Torque wrench - critical for fasteners with specific tightening specs (drain plugs, lug nuts, cylinder head bolts)
- Pliers set: slip-joint, needle-nose, and locking
- Oil drain pan and funnel
- OBD-II scanner for reading and clearing diagnostic trouble codes on any vehicle built after 1996
Beyond hand tools, a quality multimeter is indispensable for electrical diagnosis. Add specialty tools - a filter wrench, brake piston tool, or compression tester - as specific jobs demand them rather than buying speculatively.
3,000-7,500 mi
Typical engine oil change interval range
OEM-recommended intervals vary widely by vehicle and oil type; always defer to your owner's manual rather than a universal rule.
~70%
Of roadside breakdowns traced to maintenance neglect
Industry estimates from roadside assistance providers consistently attribute the majority of non-collision breakdowns to deferred routine upkeep.
1996+
Vehicles compatible with OBD-II diagnostic scanners
The OBD-II standard became mandatory for all US passenger vehicles in the 1996 model year, making a basic scanner broadly useful.
Always cross-reference torque specifications and fluid capacities against your vehicle's factory service manual or a reputable OEM-sourced database. Manufacturer specs override any generic guideline.
Which Jobs Are Right for DIY
Not every repair belongs in the driveway. The sweet spot for home mechanics is routine maintenance and straightforward component replacements - tasks where the procedure is well-documented, the consequences of error are limited, and special tooling isn't required.
Confidently DIY-able jobs for most hobbyists include:
- Engine oil and filter changes
- Air filter and cabin filter replacement
- Spark plug replacement (on accessible engines)
- Battery replacement and terminal cleaning
- Wiper blade and bulb replacement
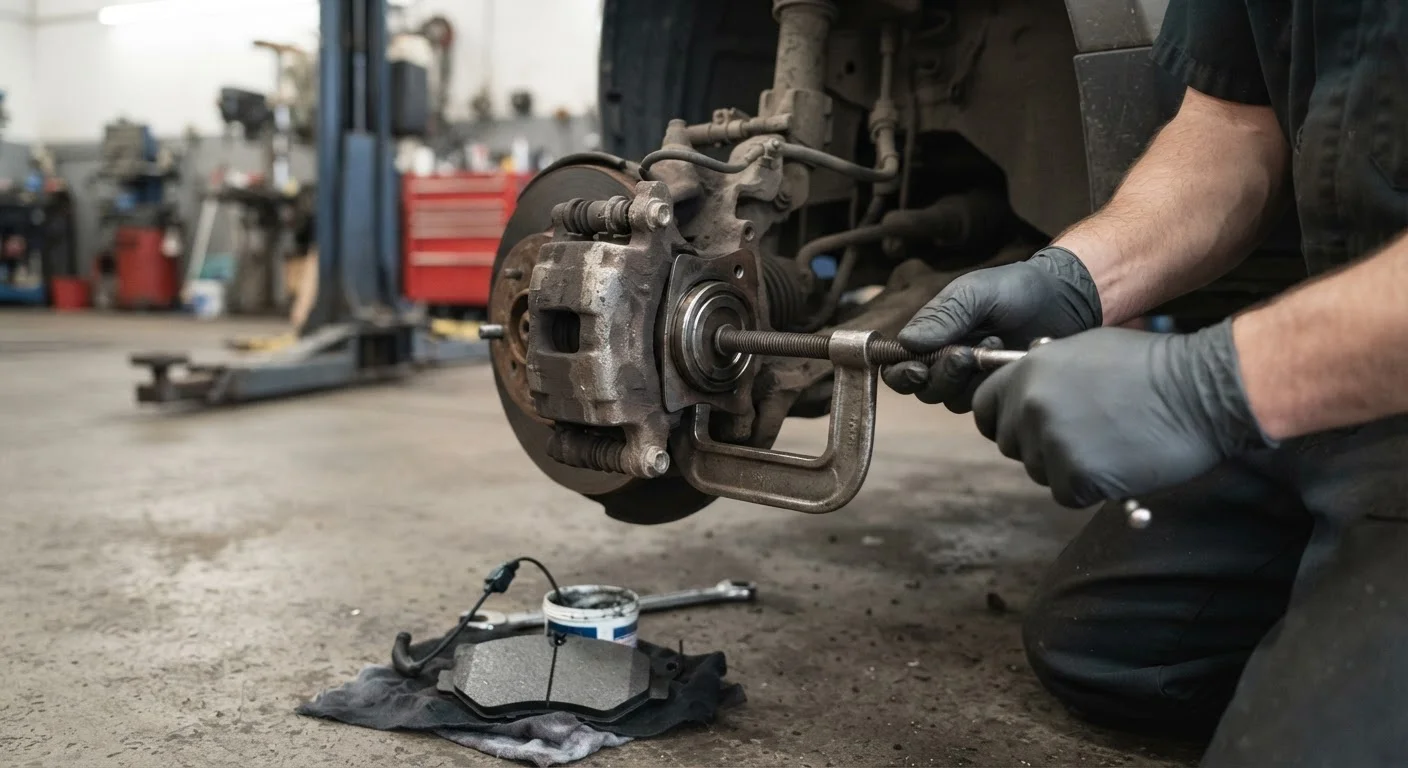
- Brake pad inspection and replacement (with proper procedure)
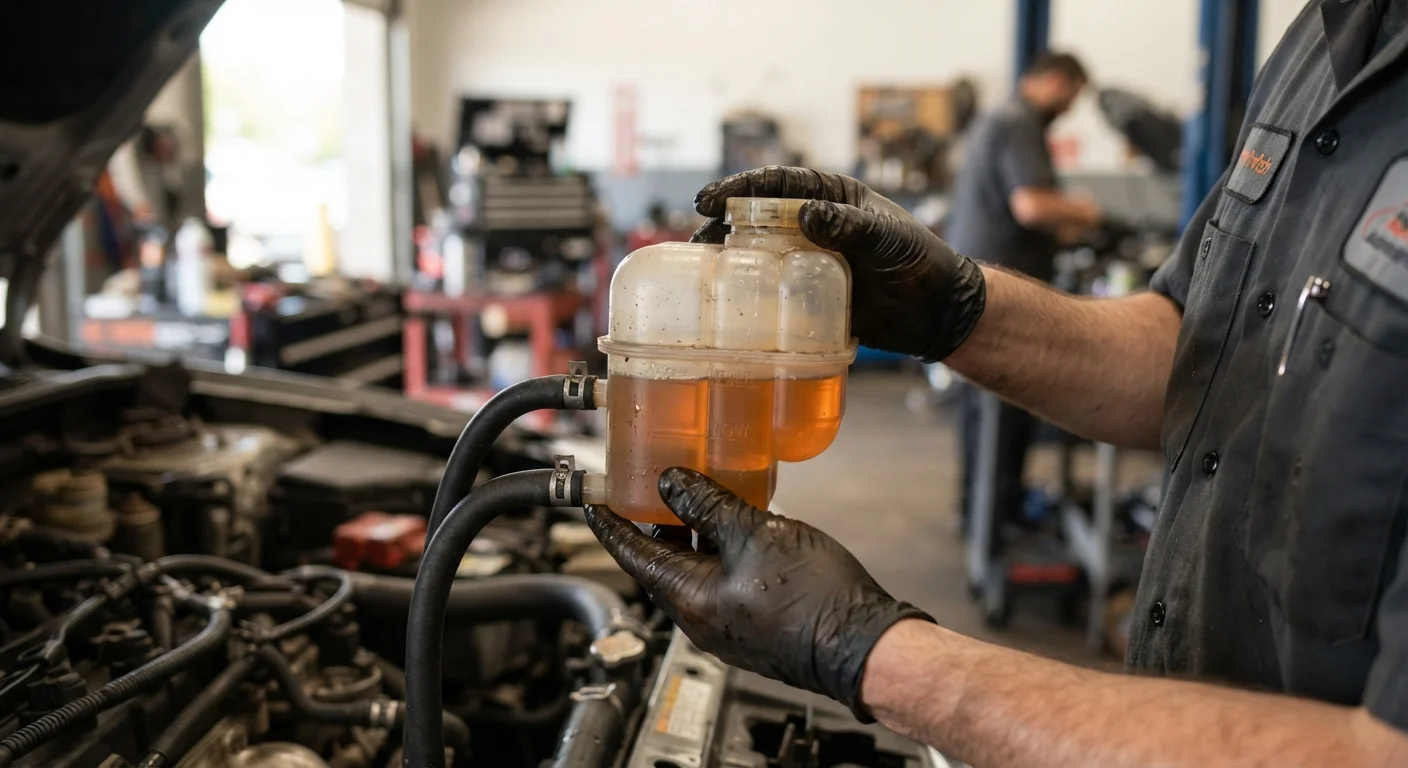
- Coolant and transmission fluid top-offs
Our routine maintenance hub covers service intervals and procedures for these foundational tasks. For a structured pre-job review, the home mechanic's pre-job checklist helps you confirm you're ready before cracking a fitting.
Knowing which jobs to avoid early on is equally important - see the repairs most DIYers attempt too early for an honest look at where enthusiasm outpaces skill.
Brake Work Requires Correct Procedure - No Shortcuts
Brake system errors directly affect your ability to stop safely. If you're replacing brake pads, follow manufacturer bedding-in procedures, inspect rotors for minimum thickness, and verify proper caliper function. If you encounter brake fluid contamination, spongy pedal feel after bleeding, or unusual pedal travel, have the system inspected by a qualified mechanic before driving.
Core Maintenance Techniques and Job Sequencing
Performing jobs in the right order prevents redundant work and protects components. A few universal principles apply across most maintenance tasks:
- Diagnose before you buy parts. Confirm the root cause - via visual inspection, scanner codes, or a test procedure - before ordering anything. Guessing burns money.
- Drain fluids before removing filters or components downstream of them to avoid spills and contamination.
- Clean mating surfaces before installing gaskets or O-rings. Old gasket material left on an aluminum surface causes leaks even with a new gasket installed correctly.
- Torque fasteners in sequence and to spec. On multi-bolt assemblies (valve covers, oil pans), use a cross-pattern and reach final torque in stages.
- Verify your work before returning the vehicle to service. Start the engine, check for leaks, confirm fluid levels, and test the repaired system under controlled conditions before highway driving.
The Parts Explained hub provides component-level breakdowns that help you understand what you're working on - useful context before attempting any unfamiliar job.
Take a photo of the engine bay or component area before disassembly - it's the fastest reference for reassembly and hose routing you'll have.
Even experienced mechanics use visual documentation on unfamiliar platforms; it costs nothing and has prevented countless reassembly errors.
Apply penetrating oil to stubborn fasteners the night before the job, not the morning of - dwell time is what makes it effective.
Penetrating lubricants need hours to wick into corroded threads; applying them minutes before turning a wrench provides minimal benefit and risks rounding fasteners.
Safety Habits That Prevent Costly Mistakes
Experienced home mechanics develop a consistent safety routine because the consequences of skipping steps can be severe. Build these habits from your first job:
- Disconnect the negative battery terminal before working on electrical systems or anything near fuel lines.
- Allow the engine to cool completely before opening the coolant system - pressurized coolant causes serious burns.
- Wear nitrile gloves and safety glasses for fluid work; used motor oil contains combustion byproducts that are harmful with repeated skin contact.
- Label and photograph hose routing and connector positions before disassembly on anything complex.
- Keep a fire extinguisher rated for flammable liquids (Class B) accessible in your workspace.
For a broader look at where DIY carries genuine risk, DIY Repairs: Weighing the Real Costs and Limits provides an honest assessment worth reading before taking on a new job category.
Pair your safety habits with a year-round maintenance rhythm - the seasonal vehicle maintenance checklist helps you stay ahead of issues before they become roadside problems.
Never Work Under a Vehicle Supported Only by a Jack
A hydraulic floor jack can fail or be bumped, dropping the vehicle without warning. Always use rated jack stands as the primary support whenever any part of your body is beneath the vehicle. This is one of the most preventable causes of serious workshop injuries.
When to Hand the Job to a Professional
Recognizing the limits of a home repair is a skill in itself - and an important one. Jobs that routinely exceed DIY safety margins include:
- ABS and airbag system repairs - live pyrotechnic components require specialized handling
- Fuel system work beyond filter replacement - high-pressure fuel systems carry fire and explosion risk
- Transmission rebuilds - require precision tooling, a clean environment, and deep system knowledge
- Structural welding or frame repair - compromised welds create catastrophic failure risk
- Brake system hydraulics (master cylinder, ABS modulator) - errors here directly affect stopping ability
For RV owners, the same principle applies with additional complexity - DIY RV Repair vs. Hiring a Certified Technician maps out where the line sits for coach-specific systems.
When in doubt, a diagnostic appointment with a qualified mechanic - even when you intend to do the repair yourself - is a sound investment. An informed second opinion costs far less than undoing a repair gone wrong.
This article is for general educational purposes only. Always follow your vehicle manufacturer's service specifications and consult a qualified mechanic for repairs that involve safety-critical systems or fall outside your verified skill level.