Why Winterisation Deserves a Structured Approach
An RV is a collection of interdependent systems - plumbing, electrical, structural, and mechanical - that each respond to cold weather in distinct ways. Freeze damage to water lines and holding tanks is among the most common and costly forms of preventable RV repair; a single crack in a fresh-water line or pump housing can cost hundreds of dollars to diagnose and replace. Battery neglect is a close second, with deeply discharged lead-acid cells often suffering irreversible capacity loss over a cold winter.
A structured, sequential approach prevents the kind of missed steps that turn a routine off-season into an expensive spring repair bill. This walkthrough addresses each major system in the most practical order. For a broader view of how winterisation fits into year-round ownership, the full-year RV maintenance calendar places these tasks in a month-by-month framework.
What you will need
What You'll Need
Gather your supplies and tools before starting so the process can run without interruption. Having everything on hand is especially important for the water system steps, where partially completed work leaves lines vulnerable.
Air Compressor with Blow-Out Plug
Forces pressurised air through water lines to expel residual water before it can freeze.
Non-Toxic RV Antifreeze
Protects P-traps, toilet seals, and any remaining line sections from freeze damage.
Battery Maintainer / Trickle Charger
Keeps house and chassis batteries at safe charge levels throughout the storage period.
Tyre Covers
Shields tyres from UV degradation and ozone cracking during prolonged stationary storage.
Roof Sealant (RV-compatible)
Seals minor gaps or cracks in roof seams before winter moisture can cause interior leaks.
Moisture Absorbers / Desiccant Packs
Reduces interior humidity to prevent mold and mildew from forming during storage.
Pest Deterrent Mesh or Steel Wool
Blocks small gaps around vents and entry points to prevent rodent intrusion.
Step-by-Step Winterisation Walkthrough
Work through these steps in sequence. The water system steps are time-sensitive if overnight temperatures are already dropping, so prioritise them if weather is closing in.
Freeze Damage Is Often Irreversible
Water left in supply lines, holding tanks, or the water heater can freeze, expand, and crack components that are expensive or difficult to replace. Even a single overnight freeze event is enough to cause serious damage. Do not skip or abbreviate the water system winterisation steps, and complete them before the first hard frost is forecast for your storage location.
Drain and flush the fresh-water system
Turn off the water heater and allow it to cool fully before opening the drain valve or removing the anode rod. Open all low-point drain valves on hot and cold lines simultaneously to let gravity clear as much standing water as possible. Flush the fresh-water tank completely and leave the drain open.
Blow out water lines with compressed air
Attach an RV blow-out plug to the city-water inlet. Set your compressor between 30-50 PSI - higher pressure can damage line fittings. Starting at the faucet nearest the pump, open each hot and cold valve one at a time, holding until only air exits. Repeat at the toilet, outdoor shower, and icemaker line if present.
Add RV antifreeze to protect remaining traps and seals
Pour approximately one cup of non-toxic RV antifreeze down every drain - sinks, shower, and tub - to protect P-trap water seals. Pour antifreeze into the toilet bowl and flush to coat the toilet valve seal. If your RV has an inline water filter, remove and bypass it before running antifreeze through the system.
Service the batteries
Disconnect shore power before inspecting batteries. Clean terminals with a baking-soda-and-water solution to remove corrosion, rinse, and dry thoroughly. Check electrolyte levels in flooded lead-acid batteries and top up with distilled water if needed. Connect a battery maintainer rated for your battery chemistry - AGM, lithium, or flooded - to keep cells at a healthy charge voltage throughout storage. Store in a location that will not drop below freezing if possible, as deeply discharged lead-acid batteries are vulnerable to freeze damage.
Protect tyres from UV and flat-spotting
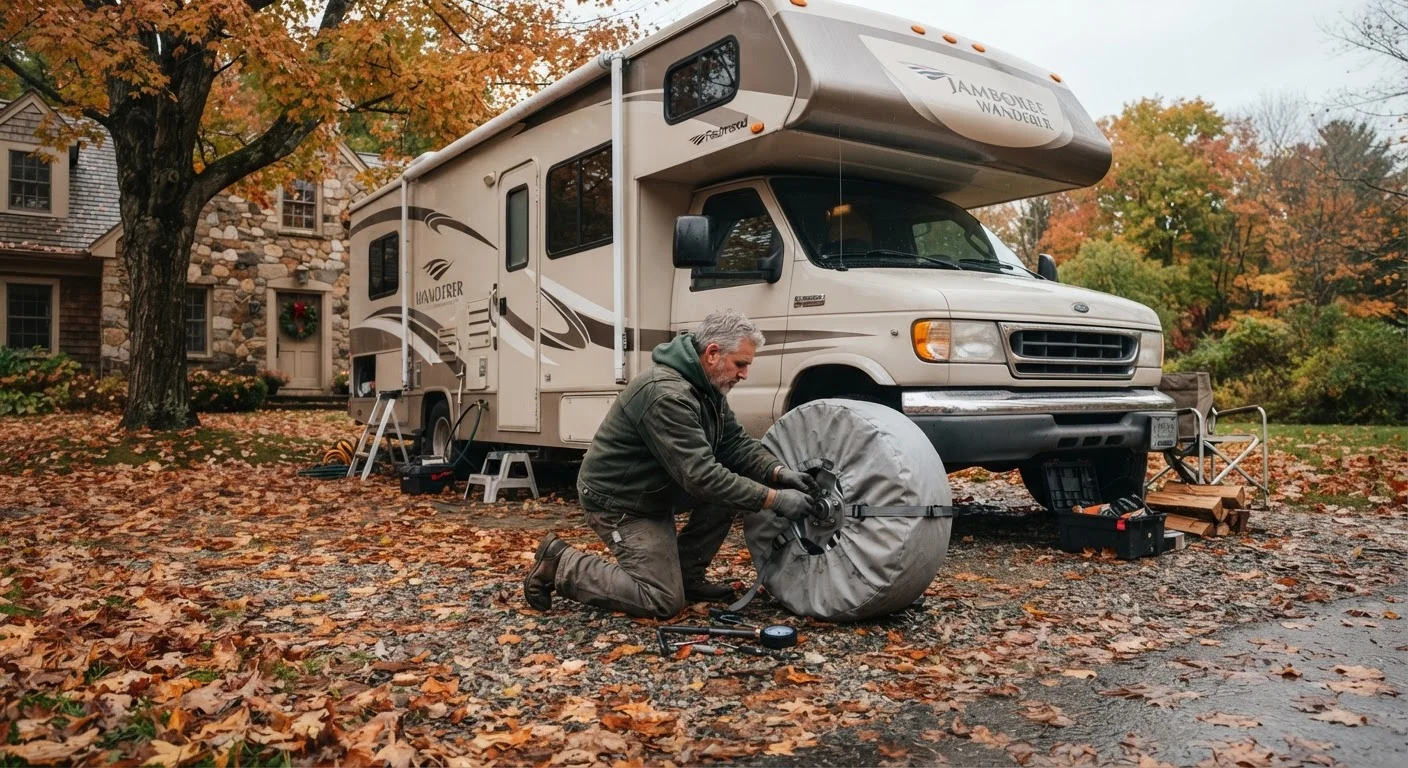
Inflate all tyres to the manufacturer's maximum cold-inflation rating to compensate for winter pressure loss. Fit UV-blocking tyre covers on all wheel positions. If the RV will remain stationary for more than 60 days, consider placing plywood sheets under each tyre to insulate from cold concrete and reduce moisture wicking. For extended storage, moving the RV a quarter-turn periodically reduces flat-spotting risk. See tyre care guidance for deeper storage practices.
Inspect and seal the roof and exterior
Walk the entire roof and check every seam, vent collar, and skylight edge for cracks or gaps. Apply RV-compatible sealant wherever you find separation or degradation. Inspect slide-out seals and lubricate with the manufacturer-specified product. Close all roof vents but leave vent covers cracked if your model supports passive airflow - it helps control interior humidity without allowing rain entry.
Prepare the interior for storage
Remove all perishable food and any items that could freeze, crack, or attract pests. Wipe down all surfaces and leave cabinet doors and drawers ajar to allow air circulation. Place moisture-absorbing desiccant packs in the bathroom, kitchen, and bedroom areas. Turn the refrigerator off, prop the doors open, and leave a box of open baking soda inside to absorb odors. Close propane tank valves and disconnect the regulator hose if storing long-term.
Block pest entry points and finalise exterior
Inspect all exterior vents - furnace exhaust, refrigerator vent, plumbing vents - and cover openings with pest-deterrent mesh or steel wool where manufacturer guidelines permit. Rodents can enter through surprisingly small gaps. Retract the antenna, close all exterior storage bays, and verify that all windows, doors, and the entry door seal properly. Record the storage date and any outstanding maintenance items so spring de-winterisation is straightforward.
Use Only RV-Safe Antifreeze
Standard automotive antifreeze is toxic and must never be used in fresh-water or drain lines. Only non-toxic, propylene-glycol-based antifreeze rated for RV/marine potable water systems is appropriate. Always verify the label before purchase.
Label Everything Before You Disconnect
Before disconnecting hoses, removing battery terminals, or sealing vents, take a few photos and add brief labels to anything that isn't self-evident. This small investment of time makes spring de-winterisation far faster and reduces the risk of reassembly errors.
Storage Environment and Long-Term Considerations
Where and how you store your RV matters as much as what you do to prepare it. Covered or indoor storage significantly reduces UV degradation on sidewalls, roof material, and seals. If indoor storage isn't available, a quality breathable cover protects the exterior while still allowing moisture to escape - a fully sealed non-breathable cover can trap condensation and promote mold growth beneath it.
For a thorough look at how different storage environments affect your RV over time, see long-term RV storage options. Full-timers who prefer to follow warmer climates rather than store at all will find useful planning strategies in seasonal route planning for full-timers.
When spring arrives, reverse this process methodically. Flush antifreeze from all lines, inspect seals and roof material again after winter contraction and expansion cycles, and run through the RV pre-trip inspection checklist before your first outing of the season. The time invested now pays dividends in a rig that starts reliably and stays road-ready for years to come.