Why Warning Lights Exist and How the System Works
Modern vehicles use an onboard diagnostics network - most commonly the OBD-II standard in vehicles sold in the US after 1996 - to continuously monitor engine performance, emissions, safety systems, and fluid levels. When a sensor detects a reading outside its acceptable range, it triggers a DTC and illuminates the corresponding dashboard symbol. Understanding what these symbols mean - and how urgently to act - can prevent a minor fix from escalating into a major repair bill.
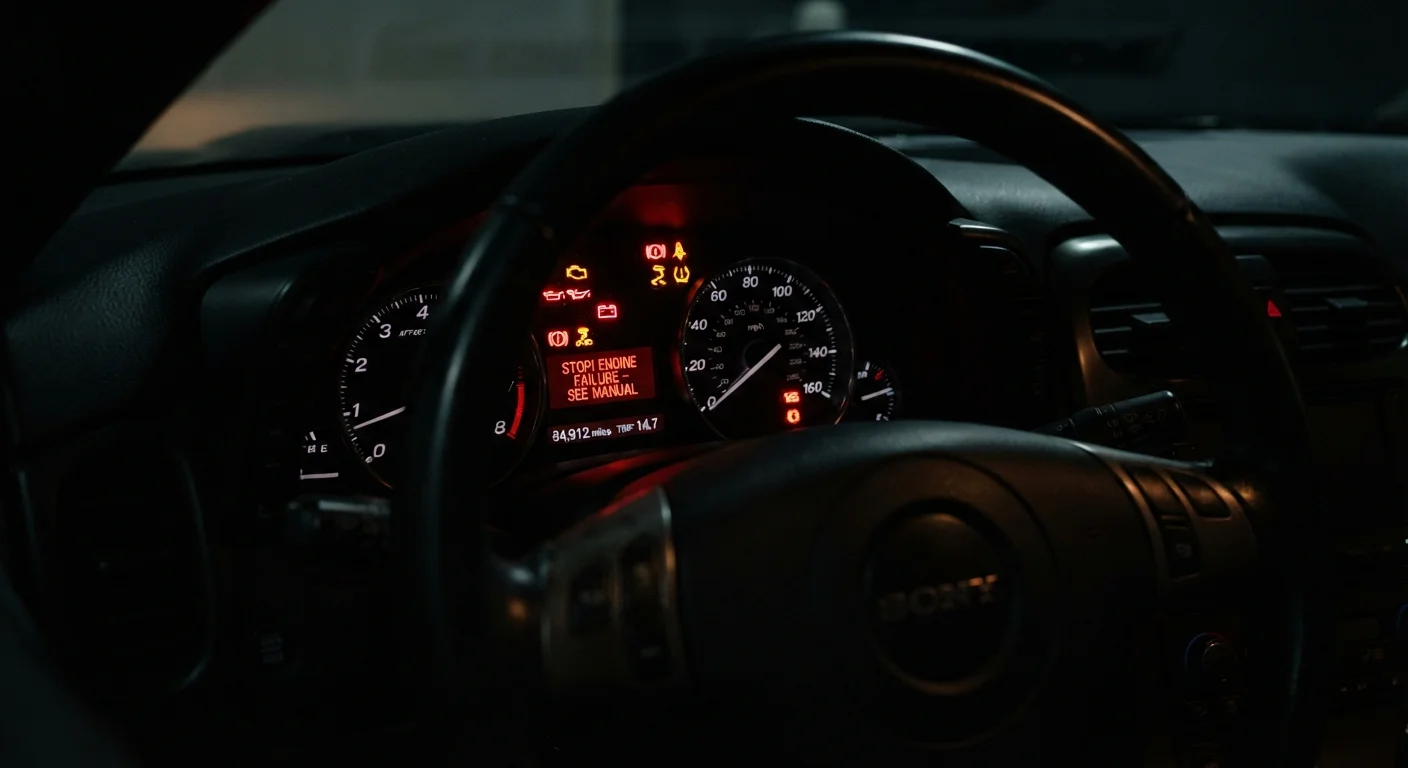
Warning lights generally fall into three severity categories based on color: red signals a stop-immediately condition, amber/yellow indicates service is needed soon, and blue or green simply confirms a system is active. This color logic is consistent across most makes and models, even when specific icons differ.
For a deeper look at pulling the underlying fault codes yourself, see Reading Your Own Fault Codes: OBD-II Diagnostics Without a Shop Visit.
| OBD-II Required Since | Model year 1996 (US) (US EPA / CARB mandate) |
| Red Light Response | Stop driving as soon as safely possible (Industry-standard severity guidance) |
| Amber Light Response | Schedule service within days (Industry-standard severity guidance) |
| Flashing Check Engine Light | Treat as urgent - active misfire risk (OEM service documentation, general) |
| TPMS Pressure Reference | Driver's door jamb sticker (vehicle-specific) (NHTSA TPMS regulations) |
The Most Common Warning Lights and What They Mean
Knowing the meaning of the lights most likely to appear on your dash helps you decide whether to pull over immediately, schedule a service visit, or simply monitor the situation.
OBD-II
On-Board Diagnostics, second generation. A standardized system required on US vehicles since 1996 that allows external scanners to read fault codes from the vehicle's electronic control modules.
Diagnostic Trouble Code (DTC)
A standardized alphanumeric code stored by the vehicle's computer when a sensor reading falls outside acceptable parameters. DTCs are the root data behind most dashboard warning lights.
Malfunction Indicator Lamp (MIL)
The official term for the 'check engine' light. It signals that the emissions or engine management system has logged one or more diagnostic trouble codes.
TPMS
Tire Pressure Monitoring System. A sensor network that alerts the driver when any tire drops significantly below the manufacturer's recommended inflation pressure.
ABS
Anti-lock Braking System. Prevents wheel lockup during hard braking, allowing the driver to maintain steering control. A fault in this system disables the assist but does not eliminate standard braking.
Red Lights - Act Immediately
- Oil Pressure Warning: Low or lost oil pressure can destroy engine internals within minutes. Pull over safely, shut off the engine, and check the oil level before driving further.
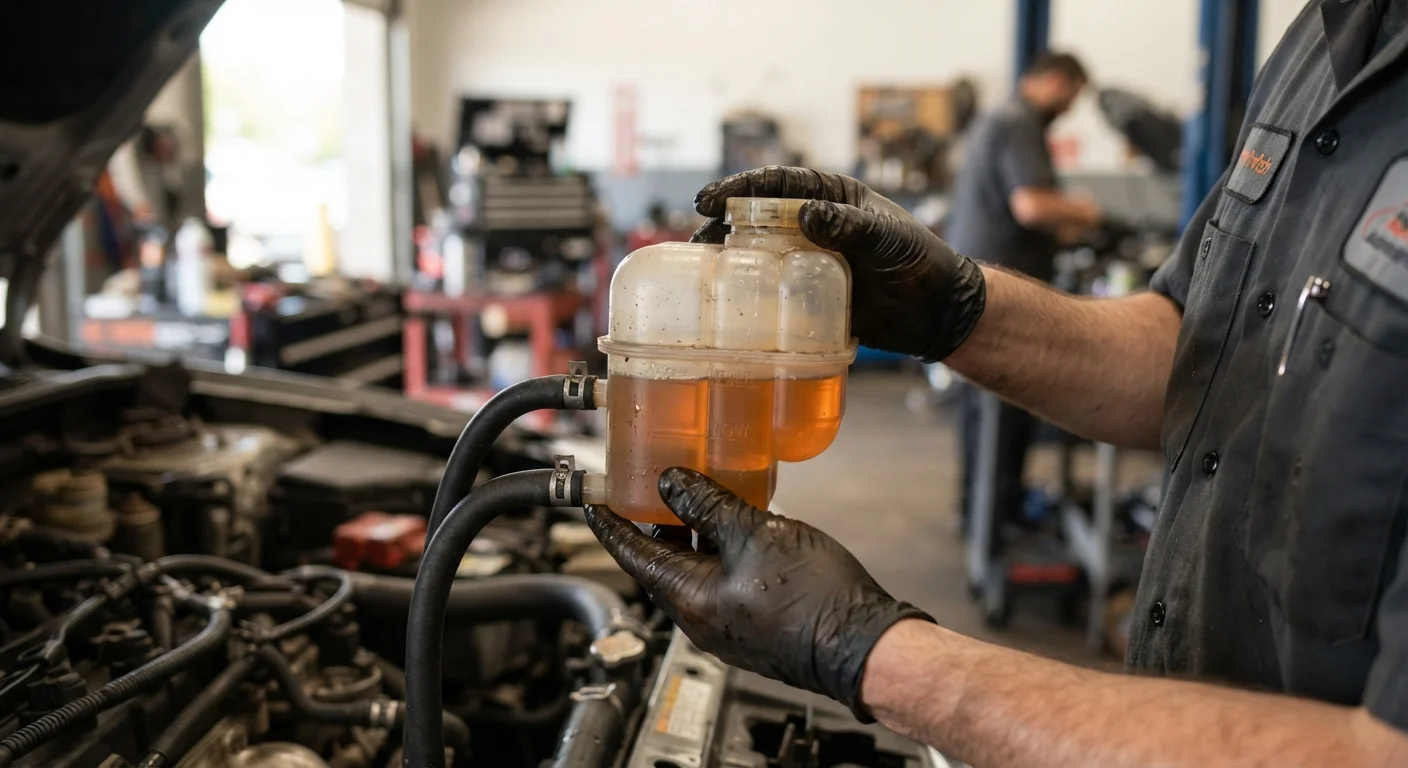
- Engine Temperature: Indicates the coolant is overheating. Continued driving risks warping cylinder heads or cracking the engine block. Stop, allow the engine to cool, and check coolant level only once the system has depressurized.
- Battery / Charging System: The charging circuit has failed. You may have limited time before the vehicle loses electrical power entirely. Head directly to a service facility.
Amber Lights - Service Soon
- Check Engine (MIL): A steady light usually means a non-critical fault - a loose gas cap, a failed O2 sensor, or a misfiring cylinder. A flashing check engine light signals an active misfire that can damage the catalytic converter; treat this as urgent. Learn to read spark plug condition for related clues at Spark Plug Condition as a Diagnostic Tool.
- TPMS (Tire Pressure Monitoring System): One or more tires is below the recommended pressure. Check and inflate all four tires to the specification on the driver's door jamb sticker.
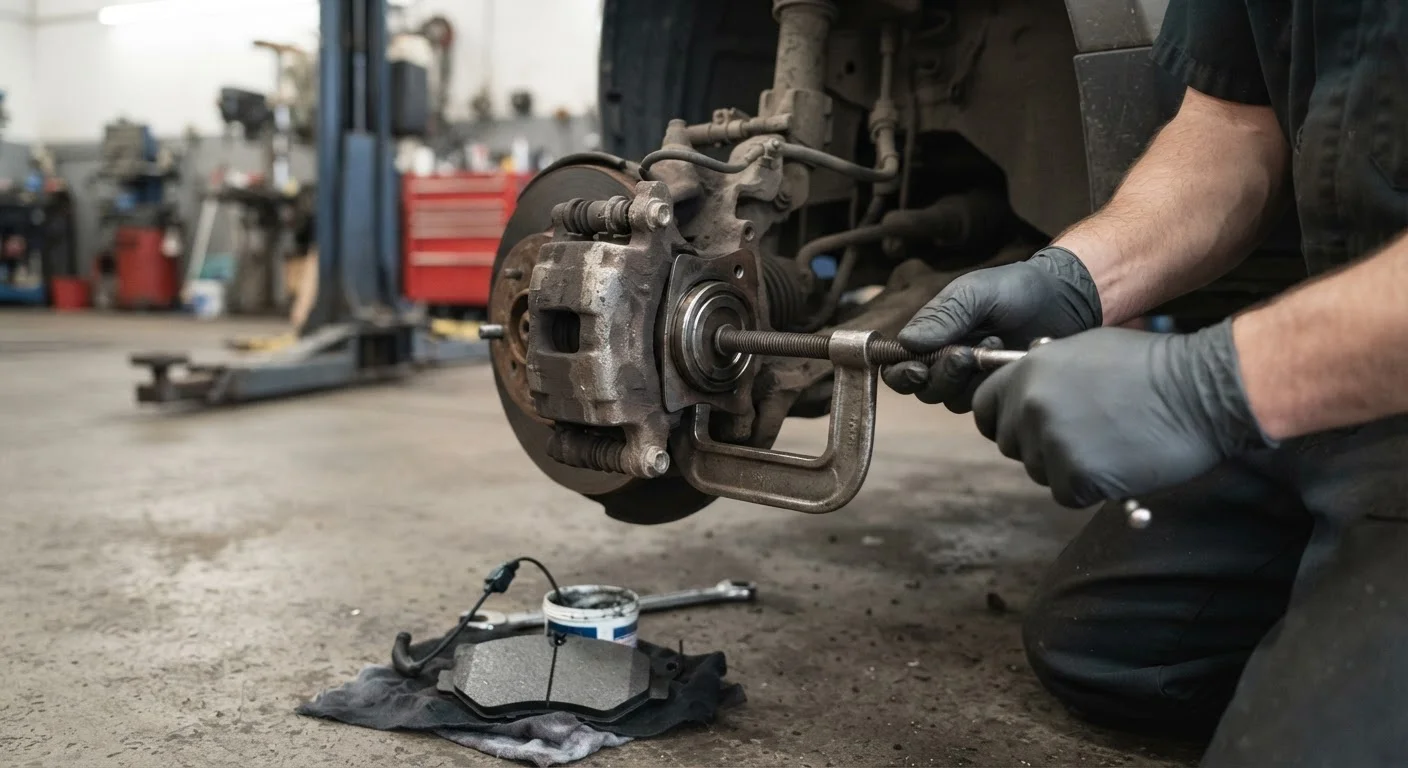
- ABS Warning: The anti-lock braking system has a fault. Standard braking still works, but ABS assist is disabled - avoid hard stops and schedule a diagnosis.
- Traction Control / Stability Warning: If this stays on after road conditions improve, the system has a fault and should be inspected.
Responding Effectively: A Practical Decision Framework
When a light appears, follow this sequence:
- Note the color and symbol immediately. Red means stop as soon as safely possible. Amber means plan a service visit within days, not weeks.
- Check for accompanying symptoms. Smoke, unusual sounds, steering changes, or loss of power upgrade any amber light to a red-level response.
- Consult your owner's manual. Every vehicle includes a dedicated warning lights section. The manual is the authoritative source for your specific make and model.
- Retrieve the fault code. An inexpensive OBD-II scanner can confirm which system triggered the light before you visit a shop - explore the Parts Explained hub for component background that helps you interpret codes more confidently.
- Know when to involve a qualified mechanic. Any red warning, a flashing check engine light, or a light accompanied by driveability changes warrants professional diagnosis. Do not continue driving a vehicle that shows signs of overheating, oil pressure loss, or brake system failure.
When to Skip DIY and Go Straight to a Mechanic
Red warning lights, a flashing check engine lamp, or any light paired with unusual sounds, smoke, fluid leaks, or loss of vehicle control should be treated as reasons to stop driving immediately and contact a qualified technician. Basic OBD-II scanning is a reasonable DIY step for amber lights, but diagnosing brake, airbag (SRS), or transmission faults typically requires professional-grade equipment and expertise. When in doubt, err on the side of caution - a tow is far less costly than a seized engine or brake failure.
If you drive an RV or tow a camper, dashboard warning lights deserve extra attention before every trip. See the pre-trip RV inspection checklist for a structured walk-through that includes verifying all indicator lights are functioning correctly.