How the System Actually Works
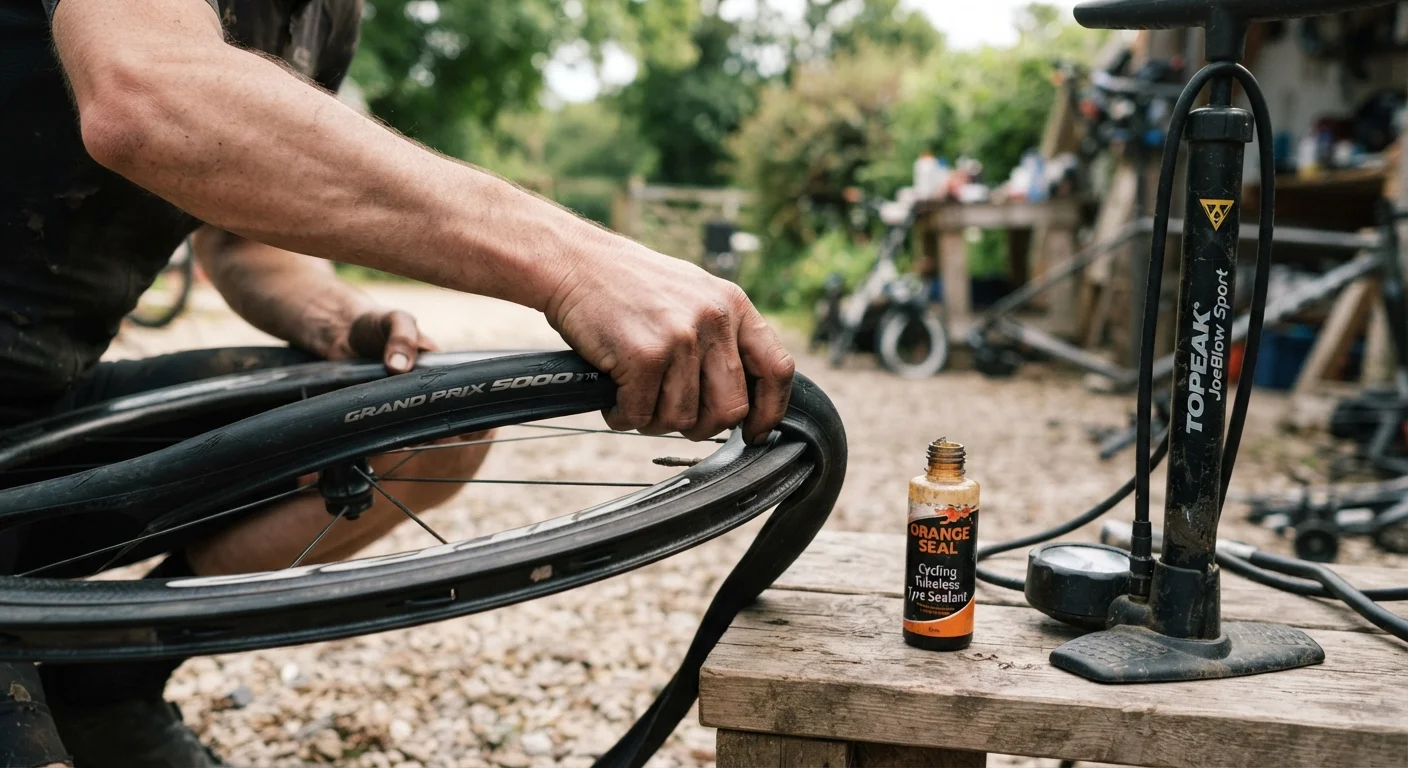
A traditional clincher tyre holds air inside a rubber inner tube. Tubeless removes that tube entirely. Air is held by three elements working in concert: a rim with an airtight bead channel sealed with tubeless tape, a tyre with reinforced beads that lock tightly to the rim, and liquid sealant sloshing inside the cavity.
When a thorn, glass shard, or small rock pierces the tyre, the sealant - under pressure - is forced into the puncture hole. Latex-based particles in the sealant coagulate and plug the breach in seconds. Punctures up to roughly 4-5mm in diameter can often seal without the rider stopping. Larger cuts, particularly sidewall gashes, typically exceed what sealant can handle and require a manual repair.
Tubeless Is Not Universal Across Bike Types
Tubeless systems are well-established for mountain bikes and increasingly common on gravel and road bikes, but many entry-level road and hybrid bikes still ship with non-tubeless-compatible rims. Always verify rim compatibility before purchasing tubeless tyres or tape. Attempting tubeless on an incompatible rim can result in sudden bead failure.
For a broader look at how punctures are assessed and whether a repair or replacement is the right call, see our guide on puncture vs. replacement decisions.
What You Need Before You Start
Compatibility is the first checkpoint. Both the rim and the tyre must be tubeless-compatible - check sidewall markings for "TLR," "Tubeless Ready," or "UST." Using a non-rated rim risks a bead blowoff, which is a sudden, dangerous loss of air pressure.
Beyond compatibility, a basic tubeless setup requires:
- Tubeless rim tape: Covers spoke holes and creates the airtight channel. Width must match your internal rim width precisely.
- Tubeless valve stems: Replace the standard presta or schrader valve; these seal against the rim tape rather than a tube flange.
- Liquid sealant: Typically 30-60ml per tyre depending on volume; more for wider tyres and gravel applications.
- High-volume pump or compressor: Standard floor pumps often can't deliver the burst of air needed to seat tubeless beads. A tubeless inflator or a compressor with a blast setting makes the process far more reliable.
Seat the Bead Before Adding Sealant
Always mount the tyre dry first and confirm the bead seats fully around the rim before introducing sealant. Trying to seat a stubborn bead after sealant is inside results in a messy, difficult job. Once you've confirmed a clean seal with air alone, then add sealant through the valve or by briefly breaking one bead.
The Setup Process: What to Expect
Setup is methodical but not especially technical. The rim tape must be applied without gaps or bubbles - a single missed spoke hole can leak air and prevent the tyre from seating. Once taped, the valve stem is inserted and the tyre is mounted dry (no sealant yet) to check that the bead seats correctly with a burst of air.
Sealant is then added either through the valve core (removed temporarily) or by breaking one bead and pouring directly. Once sealed and inflated to a pressure slightly above your target riding pressure, the wheel is rotated and shaken to distribute sealant across the inner surface. Slow leaks at the bead or around the valve are common in the first 24 hours and often resolve on their own as the sealant fills micro-gaps.
If you're planning longer rides after setup, portable inflation tools are worth carrying - tubeless tyres can lose pressure more gradually than tubed setups when sealant begins to age.
Ongoing Maintenance and Realistic Limitations
Tubeless isn't a set-and-forget system. Sealant dries out, typically within three to six months in moderate climates - sooner in hot or arid conditions. A tyre that has lost active sealant offers no self-sealing benefit and may be harder to notice, since pressure loss from drying sealant is gradual. Checking sealant volume every few months is a routine part of ownership.
Riders should also understand what tubeless cannot fix. Sidewall cuts longer than a few millimeters, large tread gashes, or impact damage require a physical plug, a tyre boot, or falling back on a spare inner tube. This is why experienced tubeless riders always carry a tube, levers, and plugs on longer rides. For a well-rounded maintenance habit that covers pressure checks and tyre wear alongside tubeless upkeep, tyre maintenance fundamentals are worth reviewing.
~4-5mm
Maximum puncture diameter sealant typically seals
Industry guidance from tyre and sealant manufacturers generally places the self-sealing limit for latex-based sealants in the 4-5mm range for tread punctures.
3-6 months
Typical sealant effective lifespan
Most tyre sealant manufacturers recommend inspecting and refreshing sealant within this window, with shorter intervals in hot or dry riding environments.
For cyclists building out their kit for longer adventures, tubeless setup fits into a broader conversation about reliability on the road. Cycle touring preparation covers how tyre choice intersects with the rest of your gear decisions.